
Easy Peppermint Bark (4 Ingredients, No Candy Thermometer)

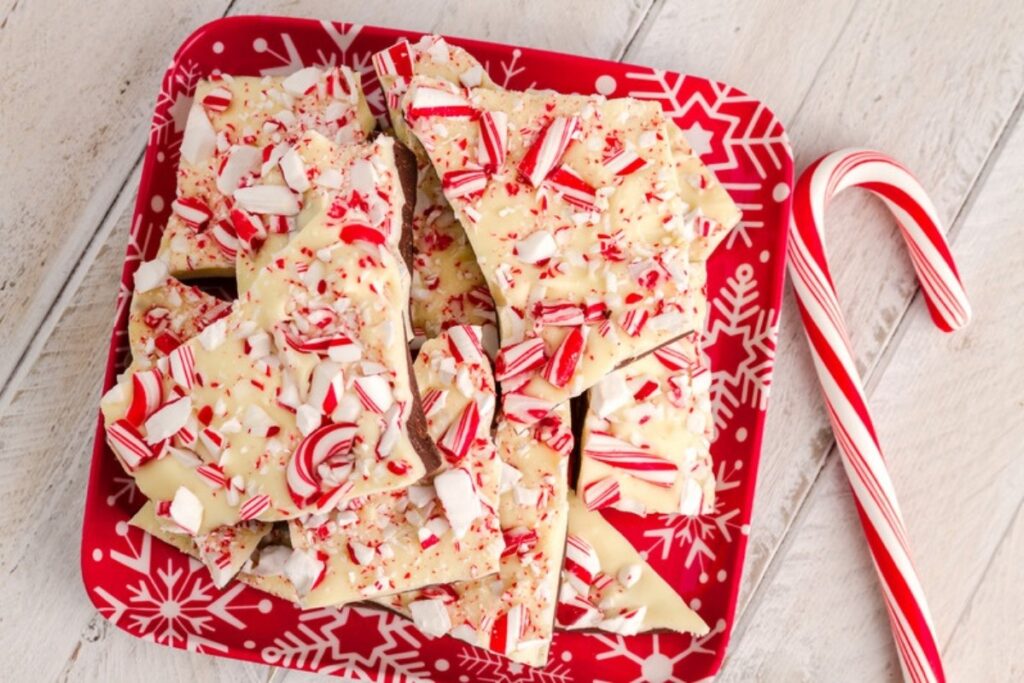
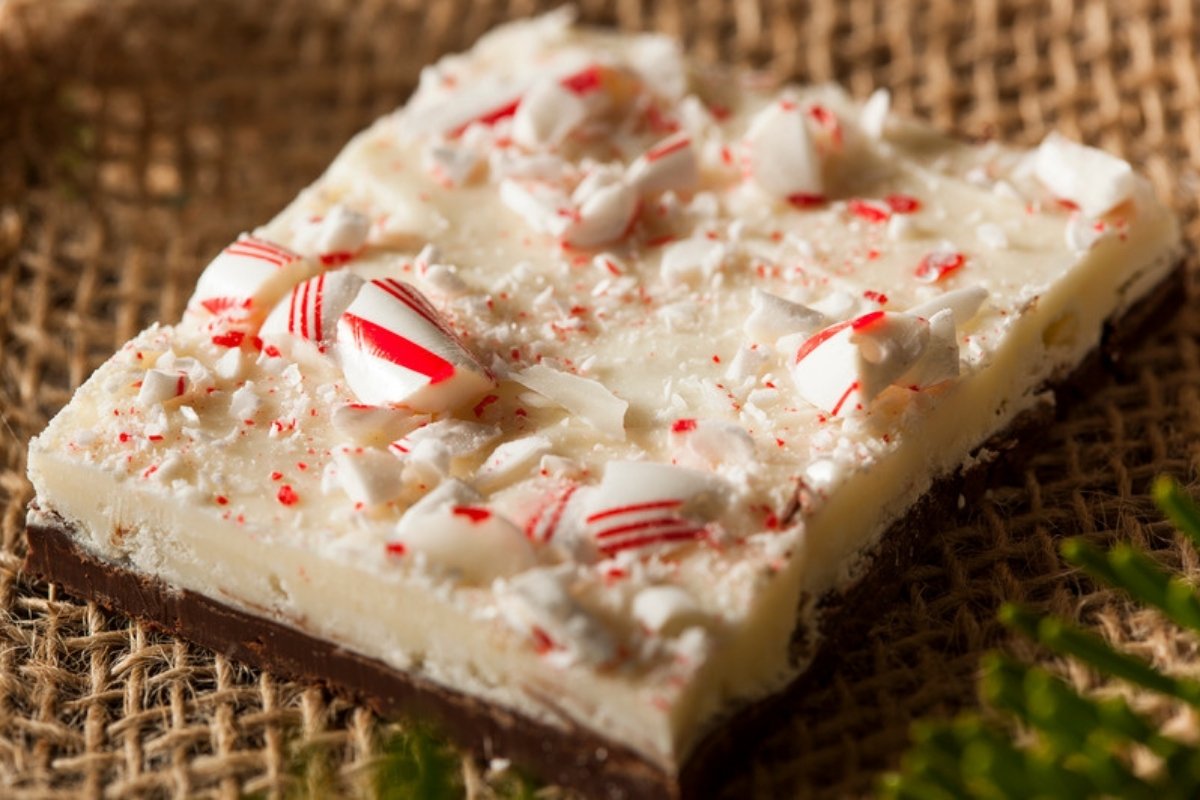
Peppermint bark is the Christmas candy you can make on a weeknight with four ingredients and no candy thermometer. A layer of dark chocolate, a layer of white chocolate, a handful of crushed candy canes on top, and an hour in the fridge. That's it. It breaks into rough, glossy shards that look great on a cookie tray and even better packed into little gift bags.
This version keeps the two layers stuck together (the most common problem with homemade bark) and gives you clear timing so the chocolate doesn't seize or turn streaky.
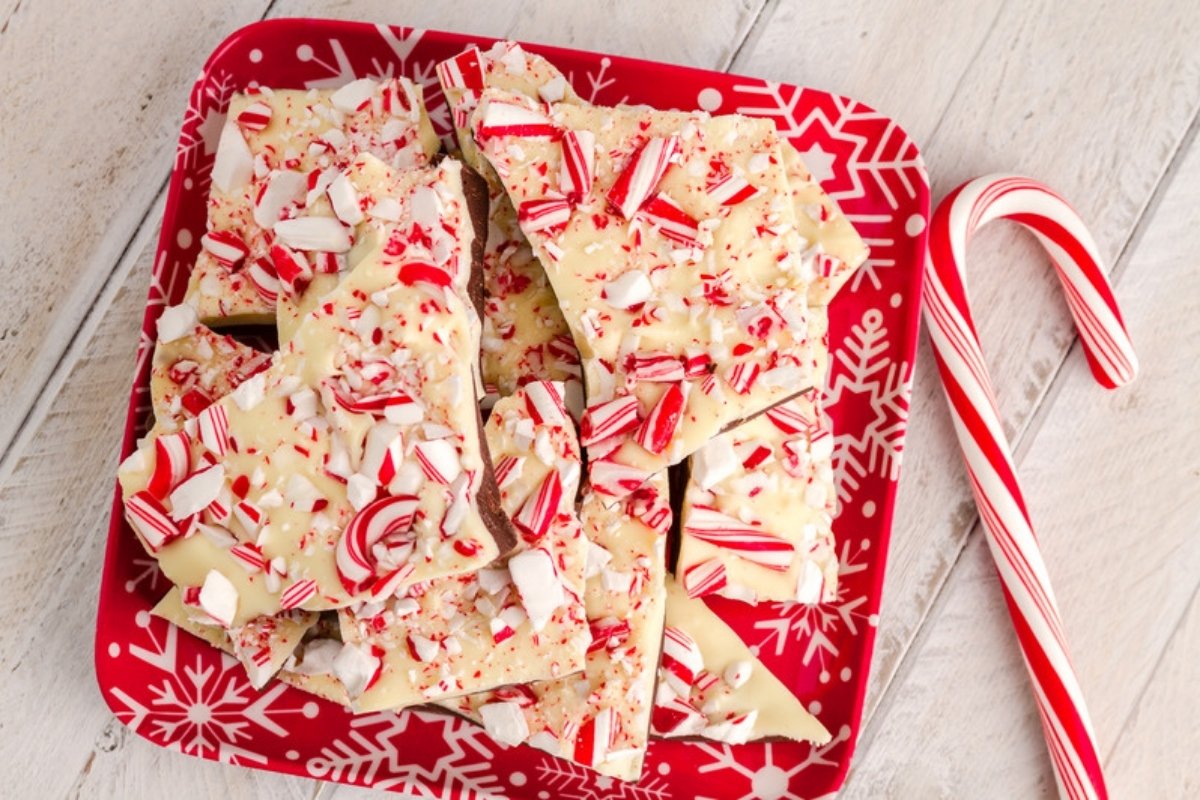
Why You'll Love This Peppermint Bark
- Only four ingredients: dark chocolate, white chocolate, peppermint extract and candy canes.
- No special tools: a microwave (or a pot of simmering water), a bowl, a spatula and a baking pan.
- Make-ahead friendly: it keeps well for a couple of weeks, so you can make it early in December and forget about it.
- Easy to gift: one batch fills four or five small cellophane bags or a large tin.
Ingredients
Makes about 1 3/4 pounds (roughly 24 pieces) in a 9x13-inch pan.
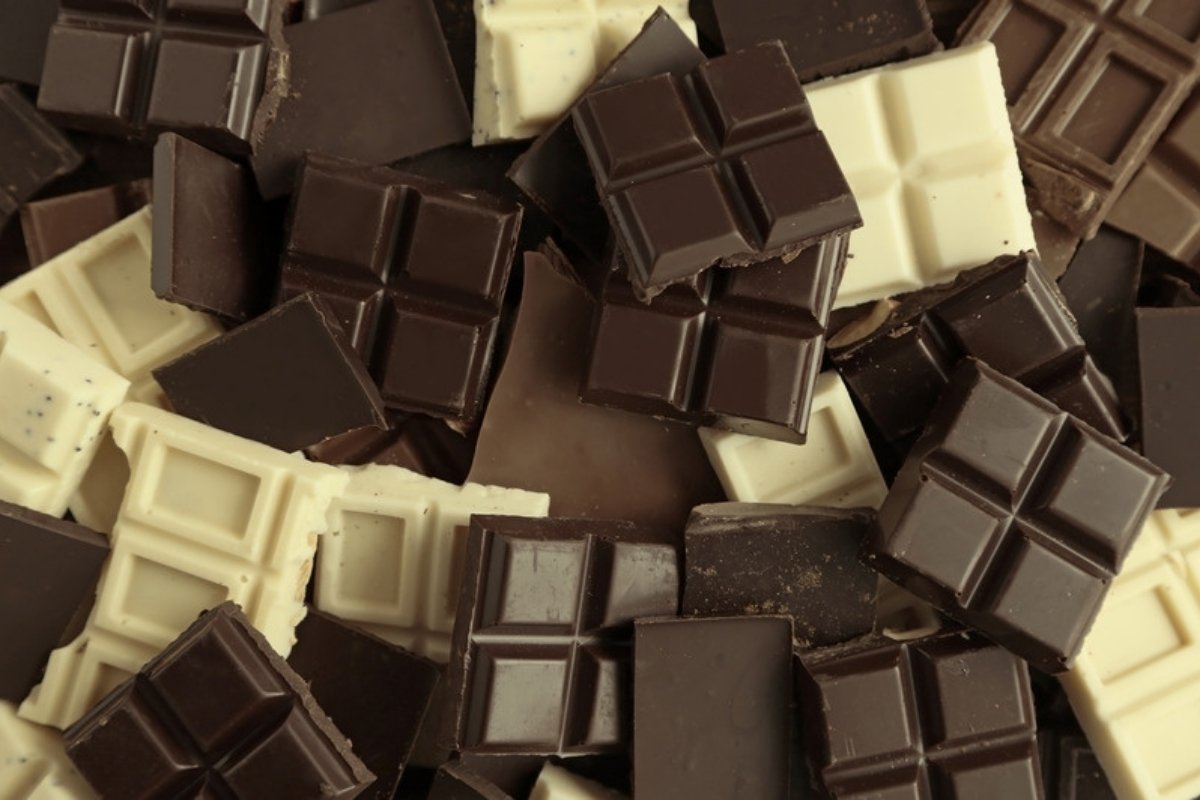
- 12 oz (340 g) semisweet or bittersweet chocolate, chopped (50–60% cacao)
- 12 oz (340 g) good white chocolate, chopped (look for cocoa butter in the ingredient list)
- 1/2 teaspoon pure peppermint extract, divided
- 6 regular-size candy canes (about 3 oz / 85 g), crushed – roughly 1/2 cup
About the chocolate: Bars or baking wafers melt smoother than chips. Chocolate chips work, but they contain stabilizers that help them hold their shape in cookies, so they melt thicker and set a little softer. If you use chips, choose a brand you like eating straight from the bag.
How to Make Peppermint Bark
1. Prep the pan and crush the candy canes
Line a 9x13-inch baking pan with parchment paper, letting it hang over the two long sides so you can lift the bark out later.
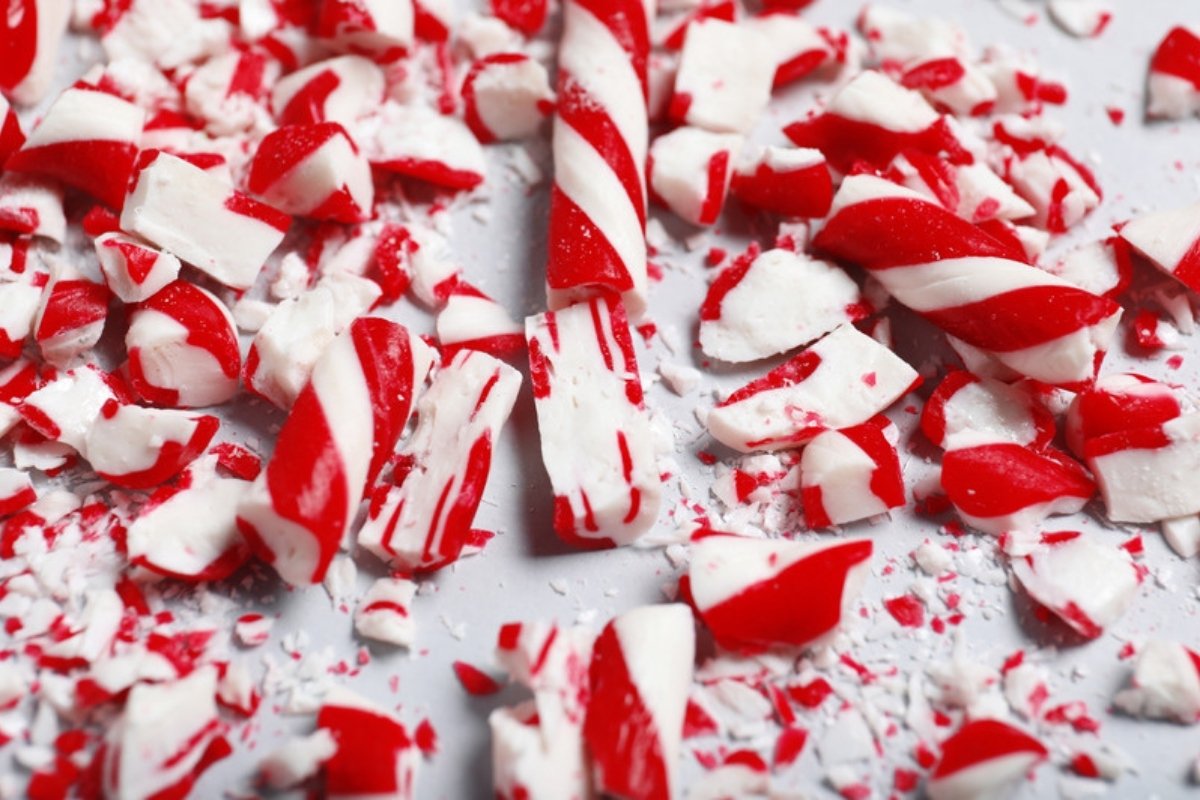
Unwrap the candy canes, put them in a heavy zip-top bag and press out the air. Tap them with a rolling pin or the bottom of a small pan until you have pieces about the size of a pea, with some finer bits. Tip them into a fine strainer and shake out the powdery dust; the dust melts into the white chocolate and makes it sticky.
2. Melt the dark chocolate
Put the chopped dark chocolate in a dry microwave-safe bowl. Microwave at 50% power for 30 seconds, stir, and repeat in 20 to 30 second bursts, stirring each time, until only a few small lumps remain. Stir until those melt from the heat of the bowl. This usually takes 2 to 3 minutes total.
No microwave? Set a heatproof bowl over a saucepan with an inch of barely simmering water (the bowl should not touch the water) and stir until smooth. Keep every drop of water and steam out of the chocolate; even a little can make it seize into a thick paste.
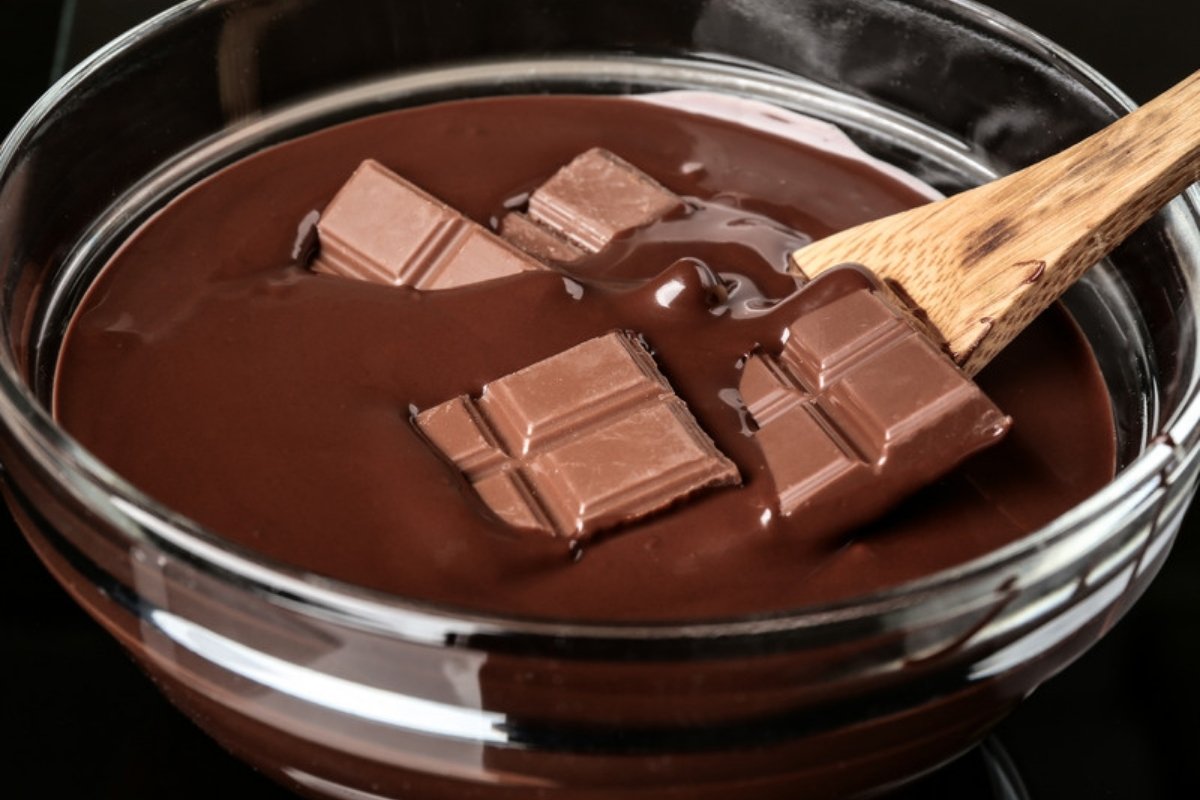
3. Spread the first layer
Stir 1/4 teaspoon of the peppermint extract into the melted dark chocolate. Pour it into the lined pan and spread it into an even layer with an offset spatula.
Refrigerate for 15 to 20 minutes, just until the surface is set and no longer shiny. Press it gently with a fingertip: it should feel firm but not cold and hard. If the bottom layer gets completely chilled, the white layer won't bond to it and the two will split apart when you break the bark.
4. Melt and add the white chocolate
While the dark layer sets, melt the white chocolate the same way, but go slower: 50% power in 20 second bursts, stirring well each time. White chocolate scorches quickly and turns grainy if it gets too hot. Stop heating while a few small pieces are still visible and let the stirring finish the job.
Let it cool for 2 to 3 minutes so it's warm, not hot, then stir in the remaining 1/4 teaspoon of peppermint extract. Pour it over the dark layer and spread it quickly and gently to the edges.
5. Top, chill and break
Right away, scatter the crushed candy canes evenly over the white chocolate and press them in lightly with your palm so they stick. Refrigerate for 30 to 45 minutes, until completely firm.
Lift the bark out using the parchment. Break it into rough pieces with your hands, or cut it into neat shards with a large chef's knife. For cleaner cuts, run the knife under hot water and dry it well before each cut.
Tips for the Best Peppermint Bark
- Use a dry bowl and spatula. Water is the main reason chocolate seizes.
- Measure the extract carefully. Peppermint extract is strong. A full teaspoon tastes like toothpaste.
- Timing matters more than temperature. Add the white layer while the dark layer is just set.
- Keep the candy canes for last. If they sit on warm chocolate too long or in a humid kitchen, they start to dissolve and bleed red.
Variations and Substitutions
- All dark: Skip the white chocolate and use 1 1/2 pounds of dark chocolate in a single layer.
- Swirled: Drop spoonfuls of both melted chocolates into the pan and drag a toothpick through them before adding the candy.
- Milk chocolate: Swap it in for the dark layer if you're making this for kids.
- Peppermint oil: If you use food-grade peppermint oil instead of extract, start with just 2 to 3 drops per layer. It is much stronger.
How to Store Peppermint Bark
Store the pieces in an airtight container with parchment or wax paper between the layers. Because this bark isn't tempered, it softens in a warm room, so the fridge is the best place for it. It keeps for up to 2 weeks in the refrigerator. In a cool, dry spot at room temperature, eat it within a week.
To freeze, pack it airtight and freeze for up to 2 months. Thaw it in the fridge while still in the closed container so condensation doesn't form on the chocolate and make the candy canes sticky.
Frequently Asked Questions
Why did my layers separate?
The dark layer got too cold before the white chocolate went on. Next time, chill it only until the shine disappears, then add the second layer right away.
Why did my white chocolate turn thick and lumpy?
It either got too hot or picked up a bit of water. Melt it at half power in short bursts and keep everything dry. Seized chocolate can't go back into bark, but you can stir it into hot milk for hot chocolate.
Can I make peppermint bark ahead for gifts?
Yes. Make it up to two weeks ahead and keep it in the fridge. Pack it into bags or tins the day you give it away and tell your friends to keep it somewhere cool.
More Recipes
- Snowball Cookies (Russian Tea Cakes) for Your Christmas Cookie Tray
- Christmas Chocolate Chip Cookies
- How to Make Candied Orange Slices
- Holiday Cookies: Sweet Treats to Celebrate the Festive Season
Put a few pieces next to the snowball cookies on your holiday tray, and keep a spare bag in the fridge for the guest you forgot to buy a gift for.
Other Recipes You’ll Love 😍