
Apple Pie Recipe: 3 Secrets For Foolproof Flavor

Craving an apple pie recipe that works every single time? You’re in the right kitchen.
Below are three field-tested secrets that turn a good pie into a bakery-level dessert—whether your style is an Original Apple Pie, a crumb-topped Apple Crisp Pie, or handheld treats for parties.
We’ll walk through smarter fruit prep, the best finishing style for your filling, and a bold bake strategy that guarantees a crisp, flaky base.
Along the way, you’ll see how these ideas adapt to Apple Hand Pies and other Apple Pie Desserts, so you can go from everyday to holiday showstopper without stress.
By the end, you won’t just follow an apple pie recipe; you’ll understand why it works—and how to tweak it for the Best Classic Apple Pie.
These secrets put flavor and texture first: tender, jammy apples that still have structure, balanced sweetness and spice, and a bottom crust that stays crisp until the last slice.
You’ll also get practical, no-fuss techniques you can use tonight. Prefer an Easy Apple Pie? Keep the steps simple. Want the Best Apple Pie? Layer in just a few pro moves. Let’s dive in.
Secret 1: Pre-Cook (Some) Apples To Control Juices And Texture
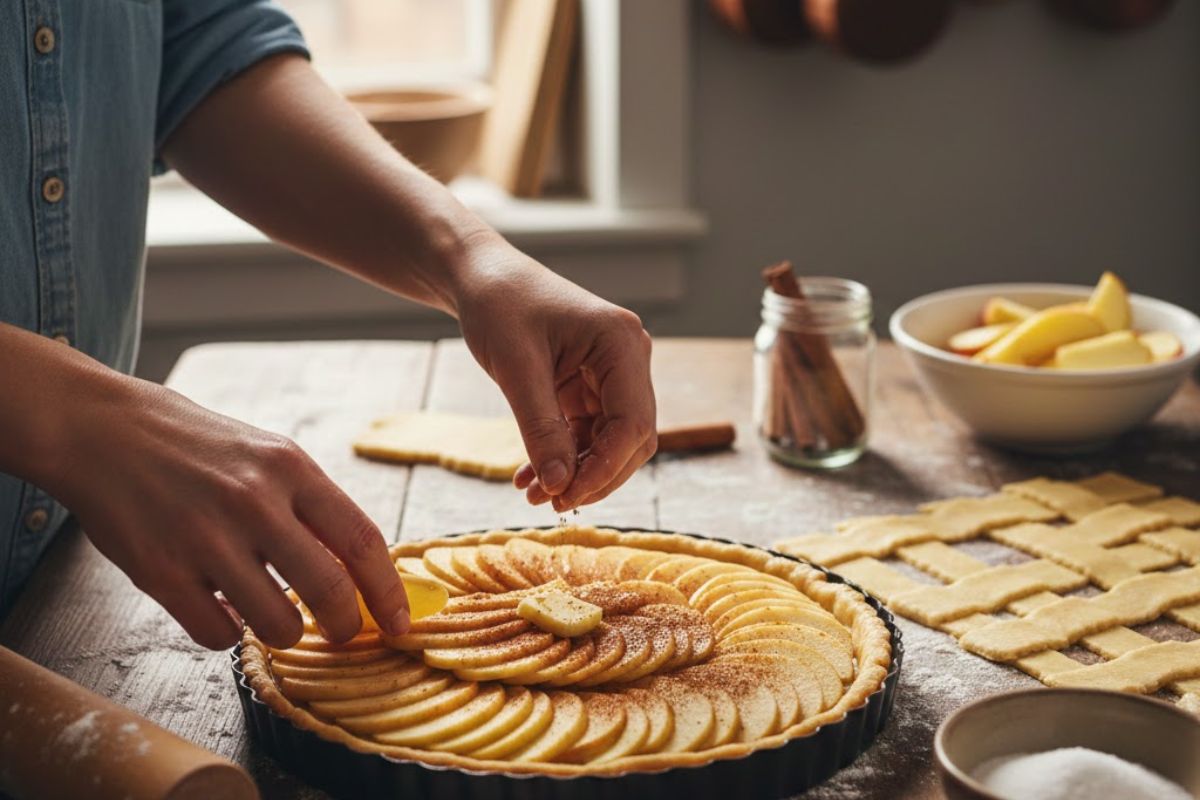 If your pie ever baked up soupy or developed a tall air gap under the lid, this is the fix. Partially cooking the fruit lets apples release excess liquid and collapse slightly before they hit the oven.
For an Apple Pie With Cooked Apples, warm half to two-thirds of your sliced apples with sugar, a pinch of salt, and lemon juice until the edges just turn translucent and juices collect in the pan.
Strain and reduce those juices to a glossy syrup; fold it back with the cooked apples plus the remaining raw apples for contrast.
This hybrid method creates a dynamic filling—some slices stay pleasantly firm while others go lusciously tender—so your pie slices cleanly and tastes intensely of fruit.
Wondering How To Cook Apples For Pie Filling without ending up with mush? Get a quick visual primer here: watch the YouTube tutorial for cooking apples for pie. It’s a perfect companion to practice the technique before your next bake.
Apple blend matters. Combine one variety that holds shape (Granny Smith, Honeycrisp) with one that softens (Braeburn, Jonagold). The mix mimics the silky bite of the Best Classic Apple Pie while keeping individual slices intact.
If you love a sweeter profile, reduce the syrup a touch darker for caramel notes—just don’t skip the acid (lemon juice) that keeps flavor bright.
Season thoughtfully: cinnamon as your base, a whisper of nutmeg or allspice, and a pinch of salt to sharpen everything. Taste the mixture before it goes into the crust; you’re aiming for bold flavor that will mellow slightly during baking.
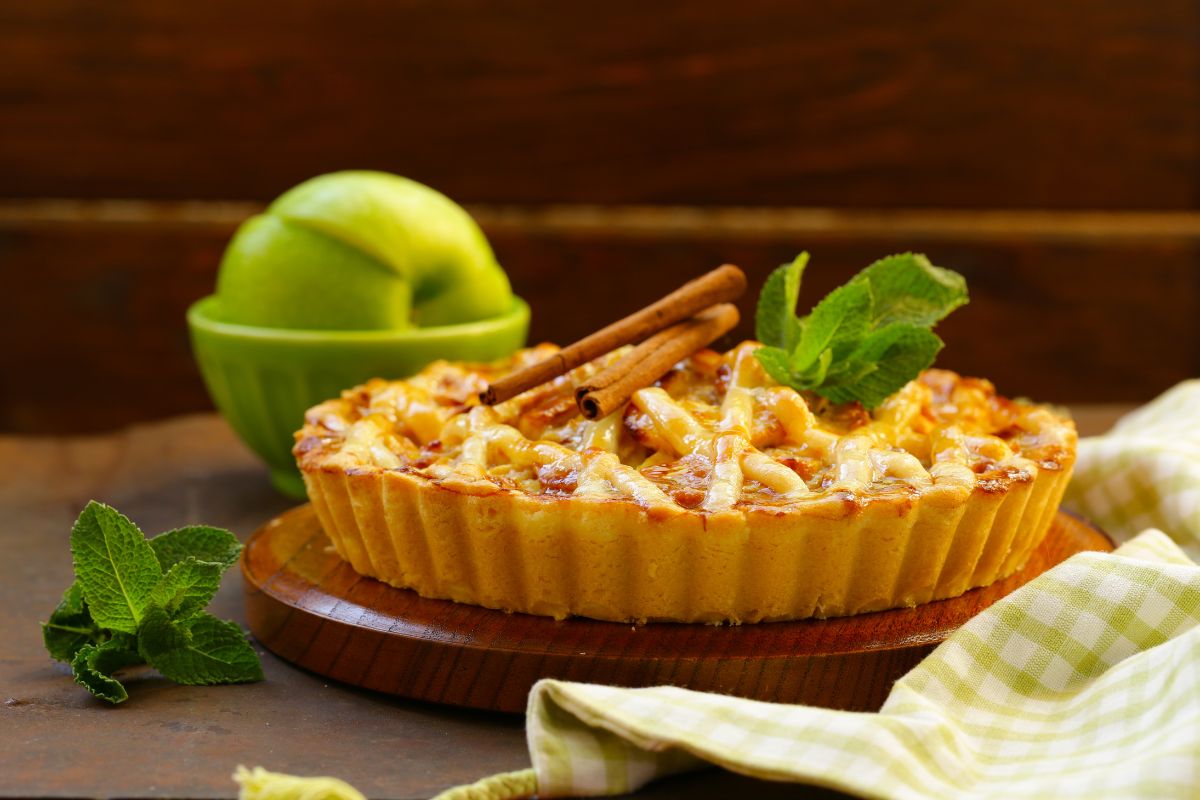
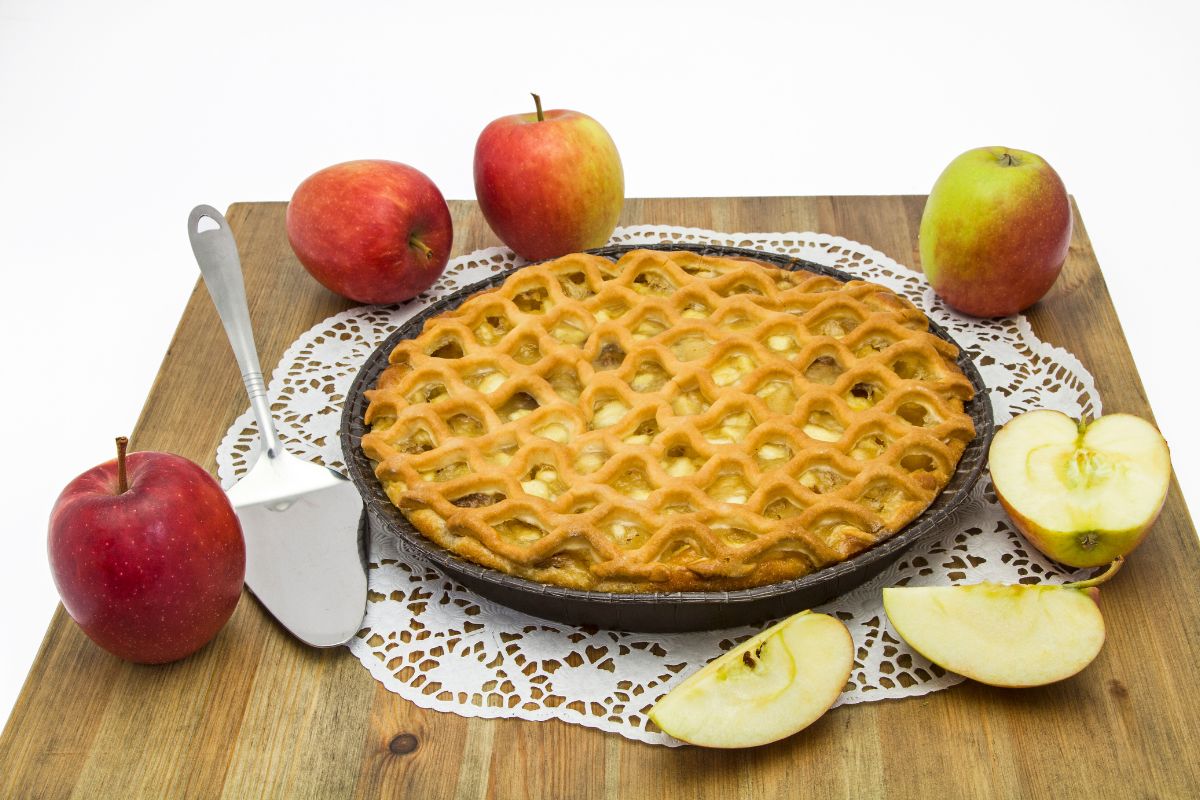
Secret 2: Match The Topping To The Filling—Lattice, Double Crust, Or Crumb
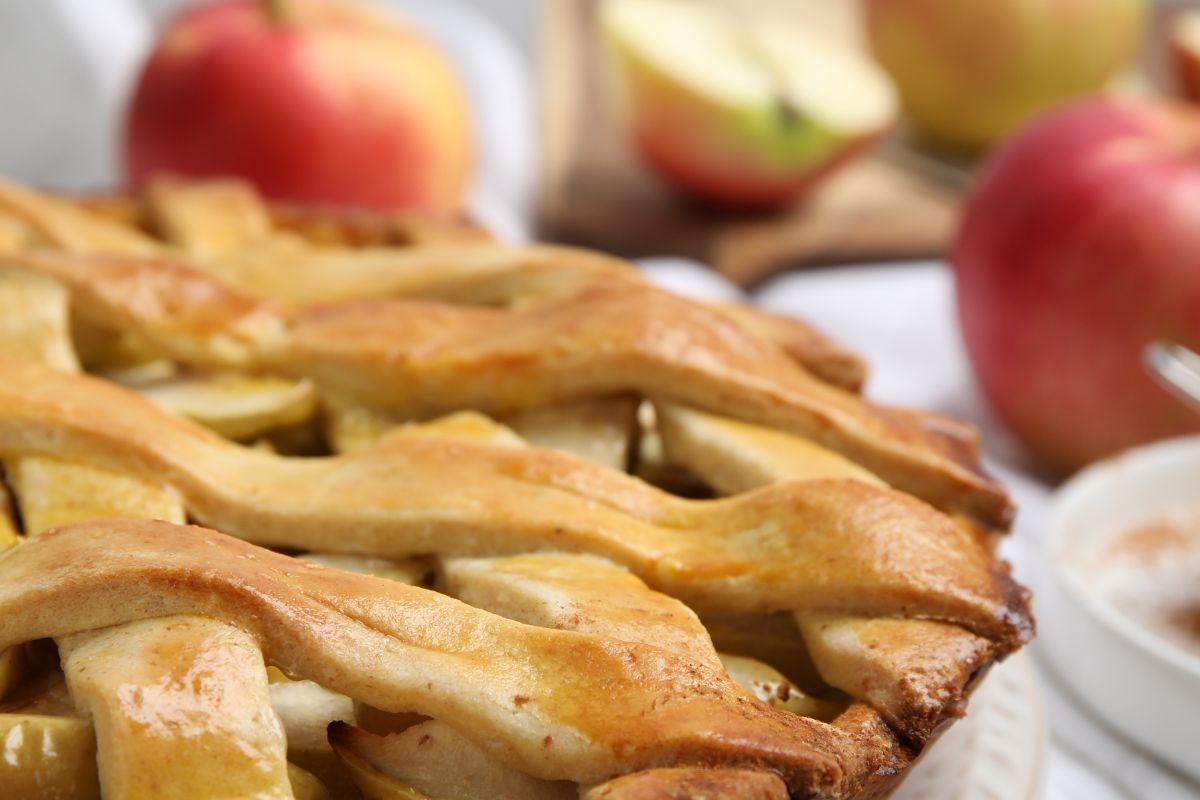 The “right” top is all about moisture and texture goals. A juicy filling benefits from venting. A lattice or crumb topping lets steam escape and intensifies apple flavor.
That’s why an Apple Pie With Crumb Topping so often wins on taste: the streusel toasts, the fruit concentrates, and every bite brings a crackly-sweet contrast—think of it as the pie cousin to an Apple Crisp Pie.
Craving tradition or keeping it Easy? A double crust is timeless for an Easy Apple Pie. Roll evenly, dock the bottom lightly, pile the apples high, and cut generous vents on top.
Brush with cream or egg wash and shower with coarse sugar so it bakes bronzed and sparkly. For a clear, step-by-step walkthrough—from dough to finish—this approachable guide has you covered: simple apple pie recipe (easy, classic, perfect).
No matter the finish, bake the pie on a preheated sheet pan set on a lower-middle rack. That heated metal kick-starts browning on the bottom to fight sogginess.
If the top darkens too fast, tent loosely with foil and keep going; color is flavor, but you want bubbling in the center before you pull the pie.
For crumb lovers, mix equal parts flour and brown sugar with a pinch of salt. Cut in cold butter until sandy, then chill briefly. Scatter a thick, even layer over the fruit so it toasts instead of melting.
The result channels your favorite bakery Apple Pie Desserts with homey ease.
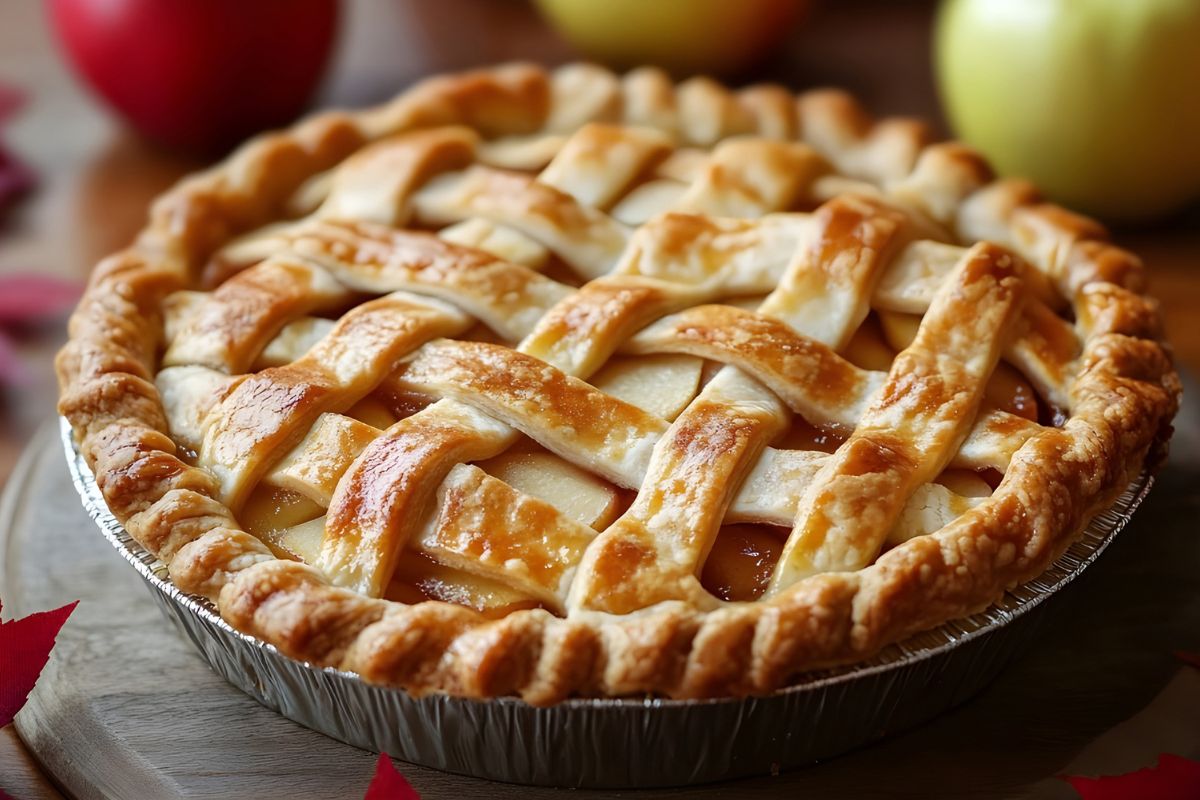
Secret 3: Build A Leak-Resistant Pie And Bake It Bold
 Structure equals success. Start with a cold, lined pie plate. Dust the bottom lightly with flour or cornstarch before adding filling. Pack the apples firmly to eliminate air pockets—gaps turn into collapsed lids later.
If you reduced juices in Secret 1, drizzle that syrup between layers for concentrated apple flavor that won’t soften the crust.
Choose your thickener with intention. Juicier blends need a bit more cornstarch; tarter, pectin-rich apples (like Granny Smith) may need less.
Your doneness cue isn’t time—it’s activity: look for strong, steady bubbling through vents or the lattice for at least 5–10 minutes near the end. That ensures starch is fully activated and the center has set.
For a quick assembly-and-bake visual—crimping, venting, and the exact “bold bake” look—watch this short clip: YouTube guide to assembling and baking apple pie.
Scaling down? The same principles make irresistible Apple Hand Pies. Dice fruit smaller, pre-thicken more assertively, and chill the filling fully before sealing.
Bake on hot metal, and don’t be shy with the sugar sprinkle for that shattering crunch.
Want a cleaner finish after slicing? Chill the baked pie 30 minutes before cutting, then rewarm slices briefly. You’ll preserve layers and still serve them warm.
How To Adapt One Apple Pie Recipe To Many Styles
 With these three secrets, one base apple pie recipe transforms into many styles. Use the hybrid pre-cook whenever apples are extra juicy, then pick lattice, double, or streusel based on how much venting you need.
For an Original Apple Pie, keep the spice classic and let the fruit lead. For fairground vibes, reduce your reserved juices deeply for caramel notes or add a spoon of boiled cider.
For an Apple Crisp Pie, the crumb is the star. Balance sweetness by using more tart apples underneath. To pivot the same filling into Apple Hand Pies, increase thickener slightly and cool fully so the pockets don’t leak.
Each format gives you the feel of the Best Classic Apple Pie with a twist—great for Apple Pie Desserts platters.
Batch-baking tip: assemble two pies and freeze one unbaked. Bake from frozen on a hot sheet pan, adding 15–25 minutes and tenting the top as needed. The crust stays flaky and the fruit cooks through beautifully.
Common Mistakes (And Quick Fixes)
 Soupy filling: Either the bake wasn’t bold enough or the thickener was light. Keep baking until you see robust bubbling at the center vent, then give the pie a long, patient cool. Pre-cooking some fruit (Secret 1) helps prevent excess liquid.
Soggy bottom: Use a metal pan or place a glass/ceramic plate on a preheated sheet pan. Bake on the lower-middle rack and vent generously—especially helpful for an Apple Pie With Crumb Topping where moisture needs an exit path.
Collapsed top crust: Pack apples firmly and use the hybrid method so shrinkage happens before baking. A lattice or crumb finish minimizes the “air gap” look in the Best Classic Apple Pie.
Underseasoned filling: Salt and acid are your friends. A pinch of salt brightens spice; lemon juice keeps the fruit vivid and balances sweetness in even the Best Apple Pie.
Serving, Storing, And Make-Ahead
 Let the pie cool at least three hours for clean wedges. Warm slices just before serving to revive flake and carry aromas.
Vanilla ice cream echoes caramel notes from reduced juices—especially splendid with an Apple Pie With Cooked Apples approach.
Plan-ahead strategy: dough keeps three days in the fridge (or three months frozen). The filling can be made a day ahead; store the cooked portion and syrup separately and combine just before assembly.
Leftovers keep one day at room temp (covered) and up to four days in the fridge, making this one of the most reliable Apple Dessert Recipes for holidays and weekends.
Prefer minis for parties? Apple Hand Pies bake fast, pack well, and disappear first from dessert tables. They’re a tidy gateway to all kinds of Apple Pie Desserts.
Wrap-Up: Your Road To The Best Apple Pie
Master these three pillars—pre-cook some fruit, choose the right finish, and bake it bold—and you’ll have an apple pie recipe that scales from weeknight simple to holiday showstopper.
Whether you lean classic or crave the toasty crunch of an Apple Crisp Pie, these methods keep results consistent, flavorful, and beautiful.
Hungry for more? Explore seasonal bakes and variations on Urbaki Cooking. Try the crumb, lattice, and double-crust versions, then share your tweaks so we can keep refining together.
Other Recipes You’ll Love 😍