
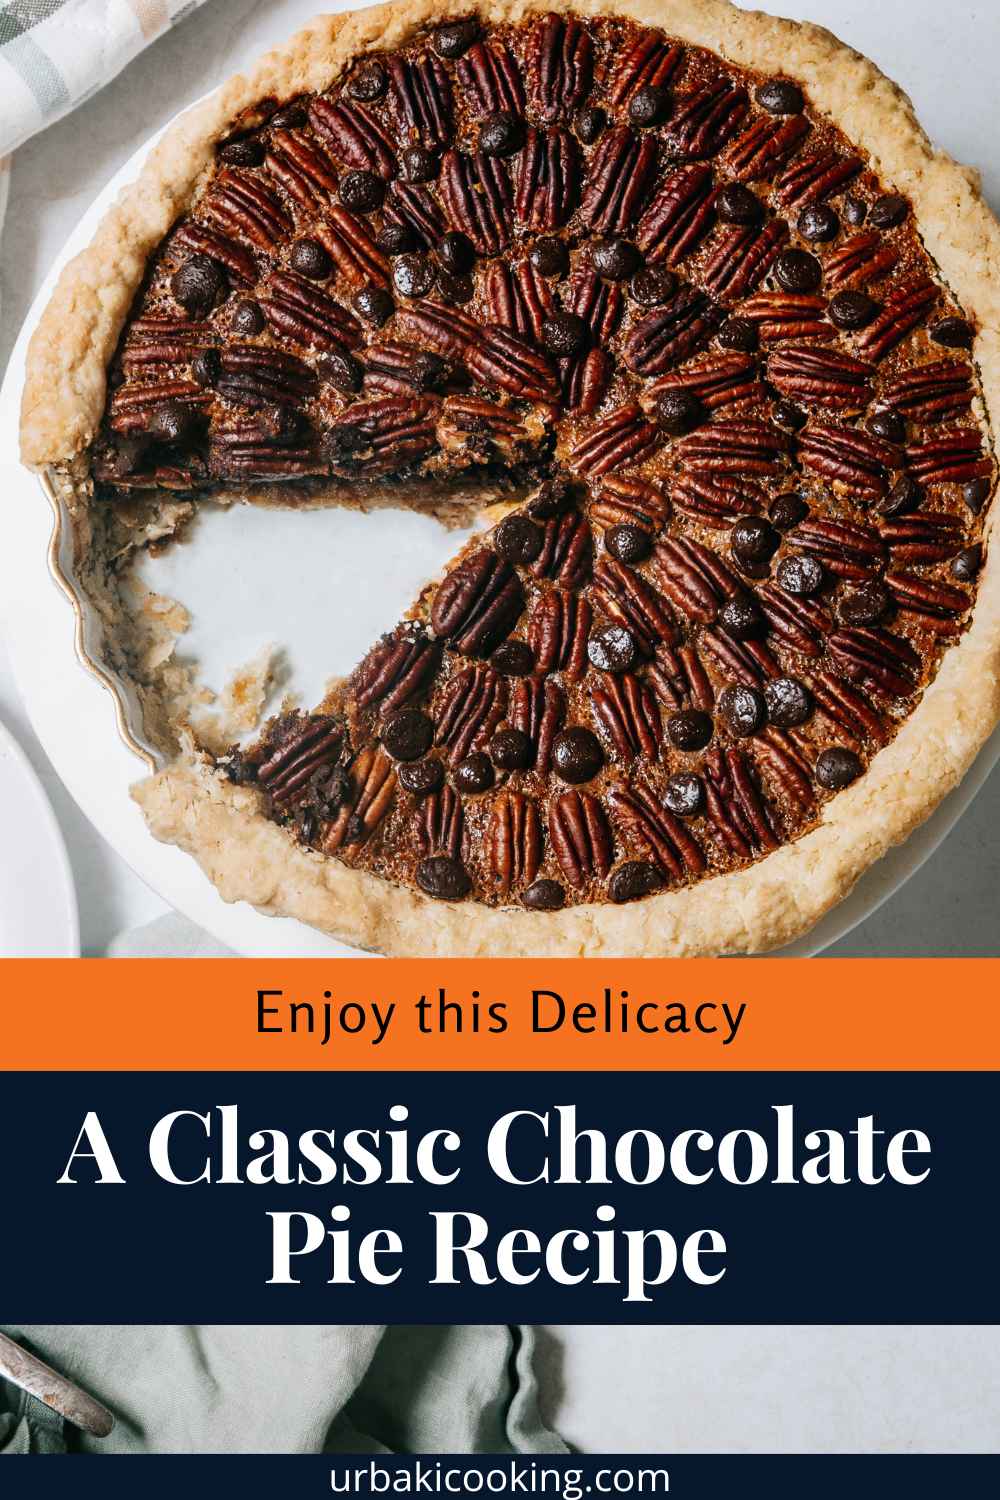
Enjoy this Delicacy: A Classic Chocolate Pie Recipe

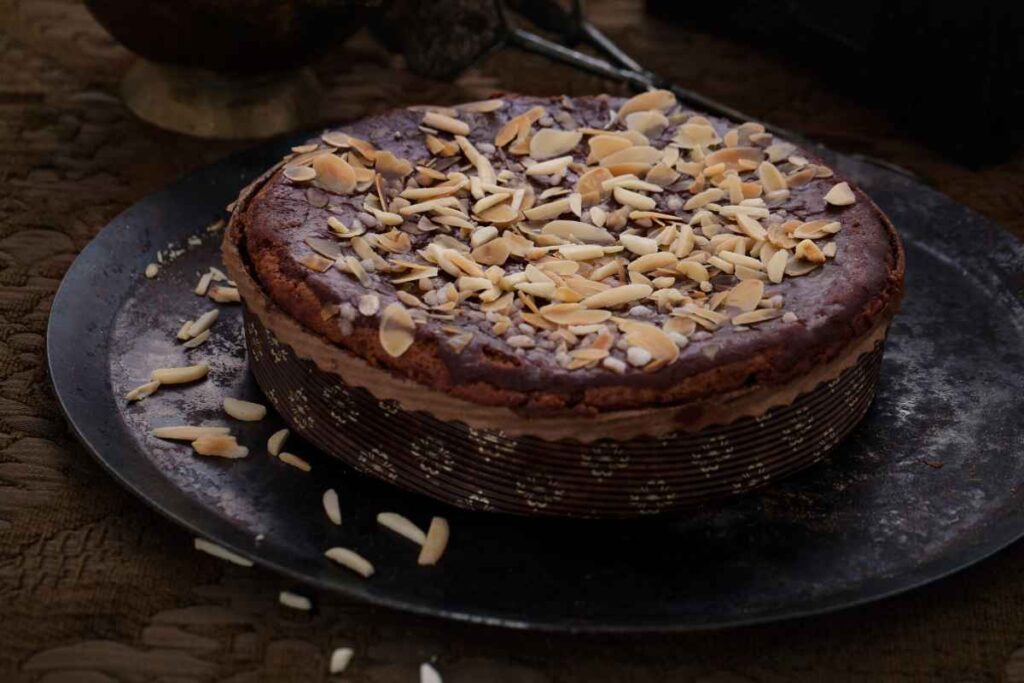
If you’re craving a dessert that’s equal parts nostalgia and showstopper, this chocolate cream pie delivers every time. We start with a prebaked crust for crisp, sturdy slices, then whisk a silky stovetop filling that sets beautifully in the fridge.
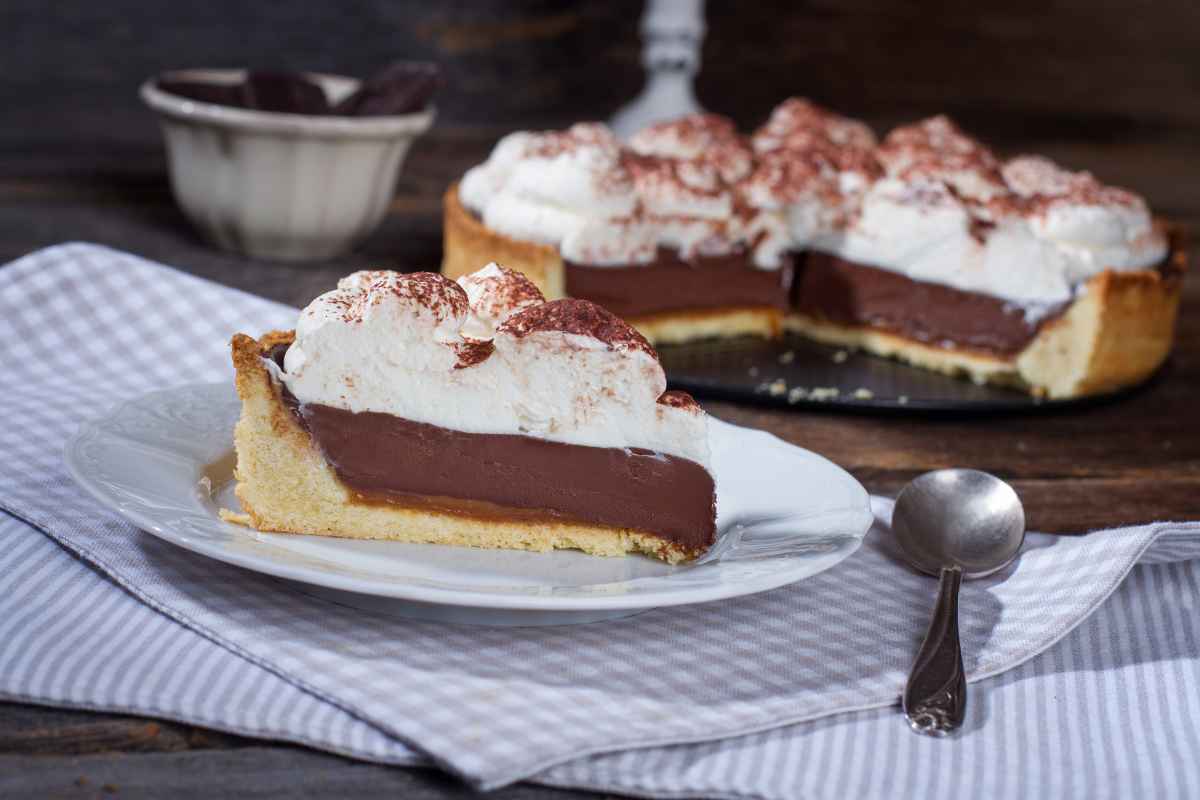
The result is a glossy, slice-clean chocolate custard crowned with softly whipped cream—an easy make-ahead dessert that feels special without stress.
Why You’ll Love It
- Silky, stable filling that cuts cleanly (no puddles on the plate).
- Do-ahead friendly: the pie actually tastes better after chilling.
- Customizable crust (buttery pastry, Graham, or Oreo).
- Reliable method with visual cues, not just times.
Ingredient Notes
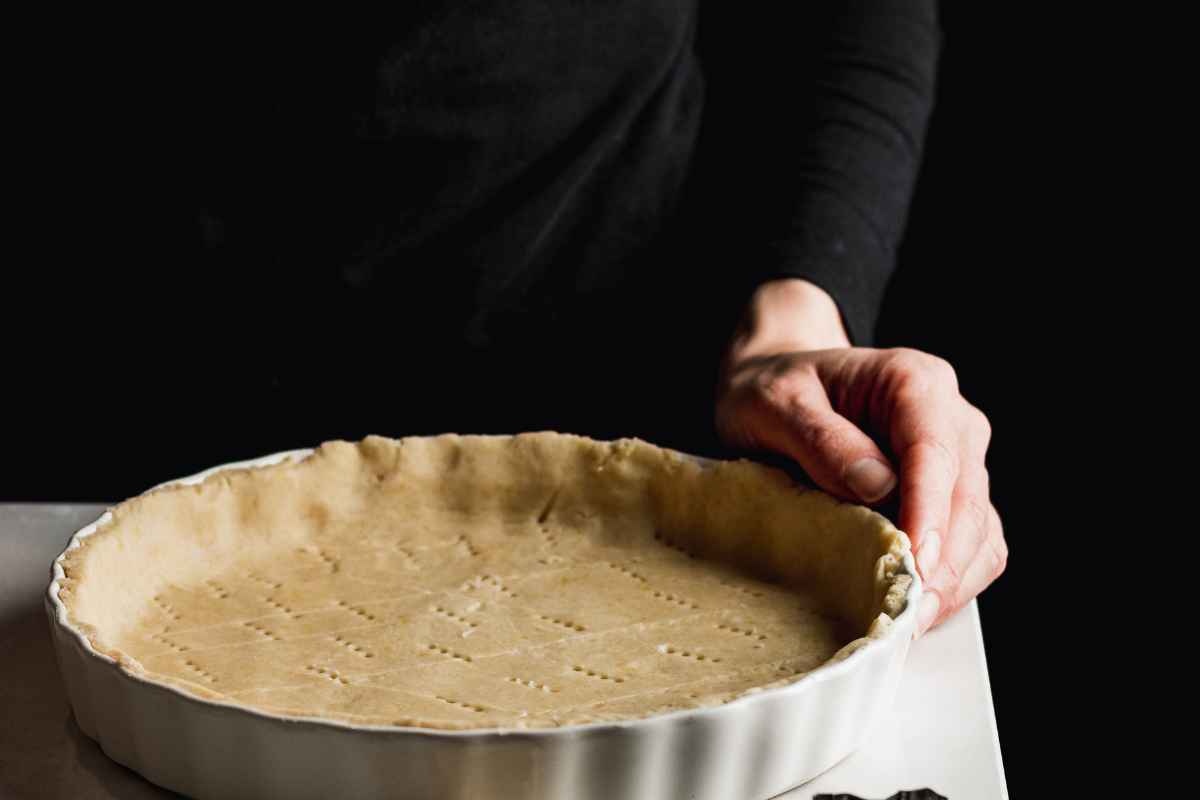
- Crust: Use a fully prebaked 9-inch crust (standard or deep-dish). A pastry crust gives classic diner vibes; Graham is toasty and light; Oreo is dark and fudgy. Prebaking keeps the base crisp under a creamy filling.
- Milk + Cream: A mix of whole milk and heavy cream creates a rich, custardy texture without heaviness.
- Egg Yolks: Add body, shine, and that luscious custard mouthfeel.
- Cornstarch: The backbone of a stable cream pie. The sweet spot is roughly 1 tablespoon cornstarch per cup of dairy. This gives a clean slice while staying smooth.
- Sugar + Salt: Balance and structure; a pinch of salt unlocks chocolate flavor.
- Chocolate (60–70% cacao): Semi-sweet to bittersweet bars (finely chopped) deliver depth. Using quality chocolate is the easiest way to level up the filling.
- Butter (optional but recommended): 1–2 tablespoons stirred in at the end add sheen and velvety finish.
- Vanilla: Brightens the chocolate and rounds any bitterness.
- Espresso Powder (optional): A pinch intensifies chocolate flavor without making the pie taste like coffee.
Equipment You’ll Be Glad You Used
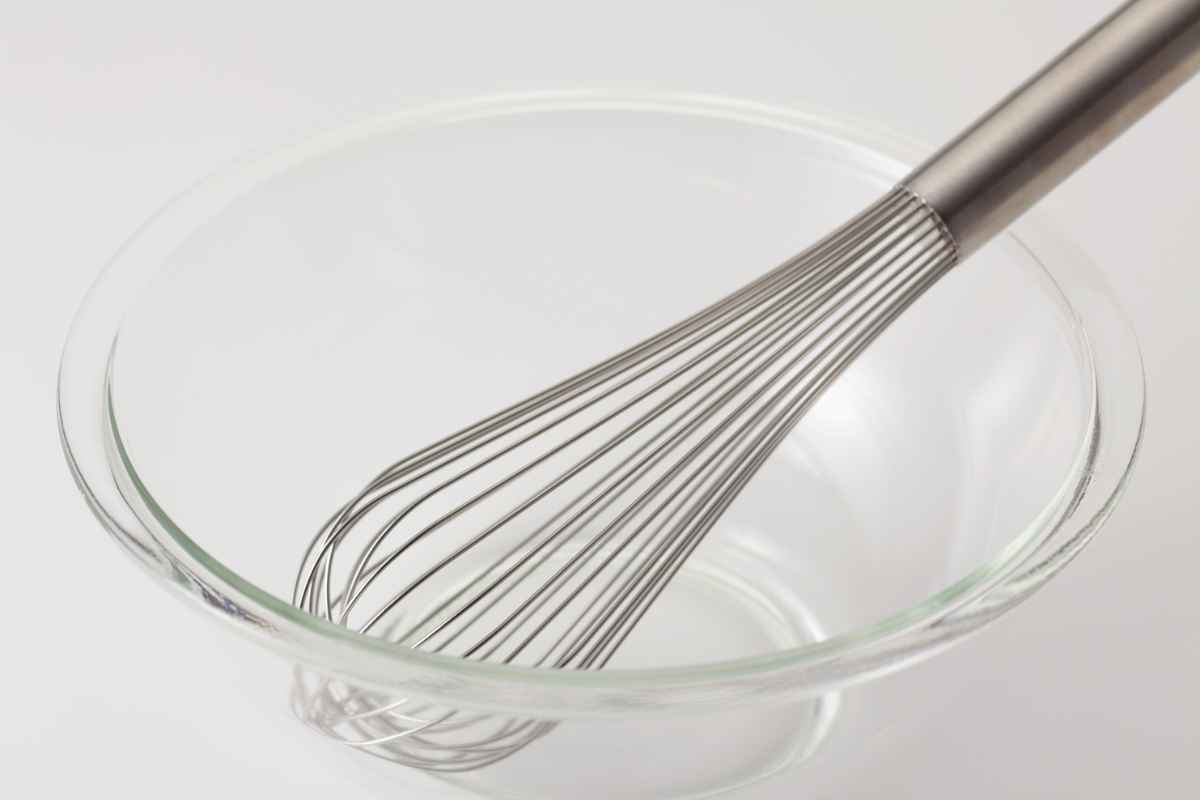
A heavy-bottomed saucepan to prevent scorching, a balloon whisk for lump-free thickening, a fine-mesh strainer for ultra-smooth custard, a thermometer if you like (look for ~160°F/71°C), and plastic wrap to keep the surface from forming a skin while chilling.
Step-by-Step: The Reliable Stovetop Method
1) Prebake the Crust
If using pastry, blind-bake until golden and crisp; cool completely. Graham or Oreo crumb crusts should also be baked briefly to set (or well-chilled if your house is cool), then cooled to room temperature.
2) Build the Custard Base
In a heavy saucepan, whisk together sugar, cornstarch, salt, and, if using, cocoa powder or espresso powder. Whisk in milk and cream a little at a time until smooth, then whisk in the egg yolks. This dispersion step keeps the mixture lump-free.
3) Cook to “Thick Pudding”
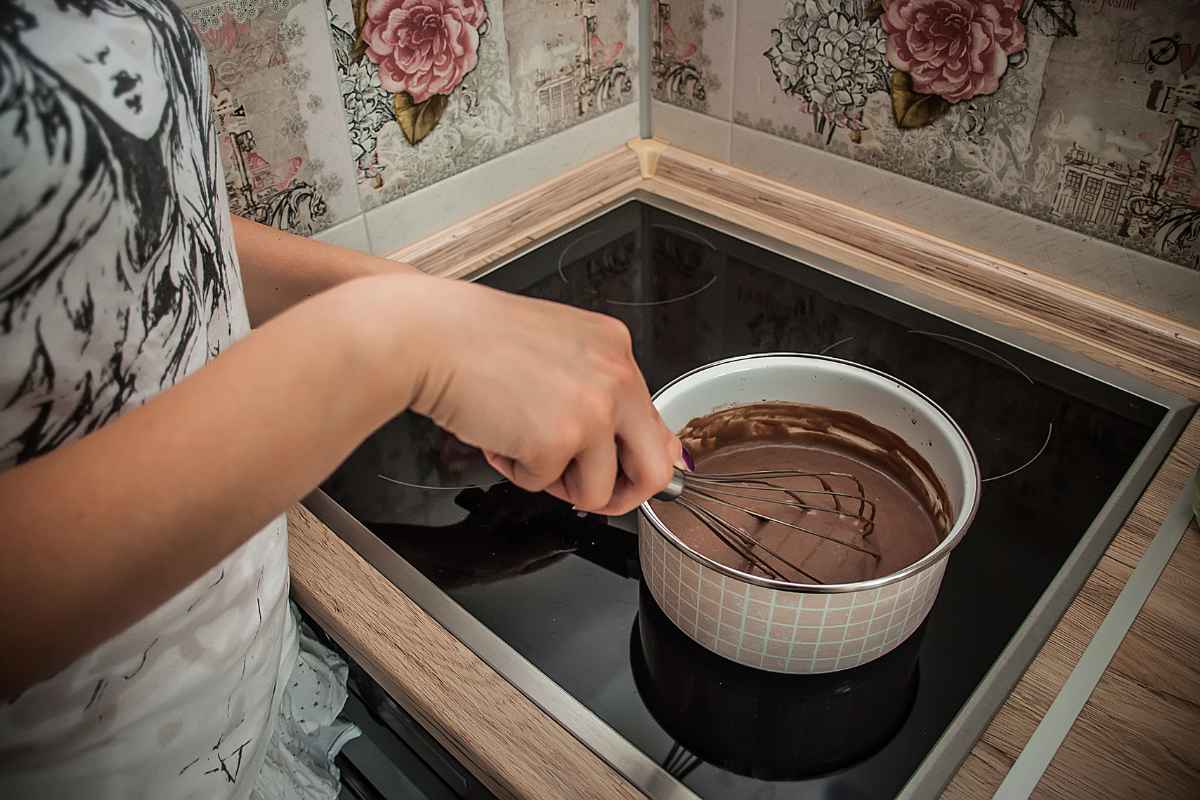
Set the pan over medium heat, whisking continuously, scraping the corners of the pot. The mixture will go from thin → steamy → noticeably thick. Keep whisking until large bubbles slowly ploop up through the thickened custard.
4) Boil for 1 Minute (Key for Stability)
Maintain a gentle but definite boil for 60 seconds while whisking. This step activates the starch fully for a clean, sliceable set and helps ensure egg safety (look for ~160°F/71°C).
5) Enrich and Smooth
Remove from heat. Immediately whisk in the chopped chocolate until fully melted and glossy, then the butter (if using) and vanilla. Pour through a fine-mesh strainer into a bowl to catch any tiny bits of cooked egg or unmelted chocolate. This gives that luxuriously smooth finish.
6) Fill, Cover, and Chill
Pour the hot custard into the cooled, prebaked crust. Smooth the top. Press plastic wrap directly onto the surface to prevent skin. Chill until fully set, at least 4 hours (overnight is ideal). This patience pays off in neat, bakery-worthy slices.
7) Top and Serve
Pile on softly whipped cream (lightly sweetened with a touch of vanilla), then finish with chocolate shavings, cocoa dusting, or fresh berries. Slice with a hot, dry knife for the cleanest edges.
Pro Tips for a Perfect Slice
- Don’t rush the boil: That 1-minute boil is your insurance policy against weepy, runny pie.
- Watch the texture: When it’s ready, the custard coats the back of a spoon and holds a line when you swipe a finger through.
- Strain for luxury: Straining is the fastest way to get a professional pastry finish at home.
- Chill completely: Cutting early is the #1 reason slices slump. Think minimum 4 hours, preferably overnight.
Variations & Swaps
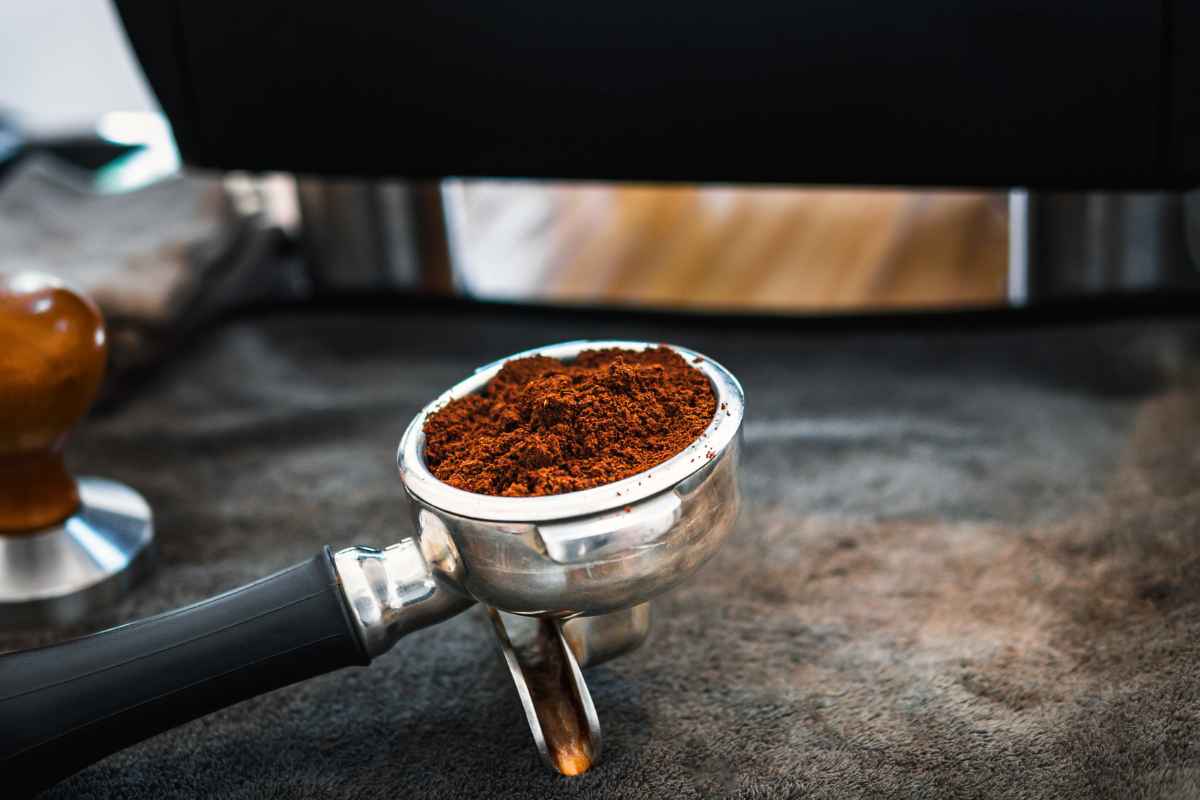
- All-Chocolate Intensity: Add 1–2 teaspoons espresso powder or a splash of hot espresso.
- Dark-as-Night: Use 70–72% chocolate for a bittersweet, sophisticated profile (reduce sugar slightly if you prefer).
- Milk-Chocolate Dream: Go sweeter and creamier; increase salt by a pinch to keep balance.
- Gluten-Free: Choose a GF cookie crust; the filling is naturally GF if your cornstarch is certified gluten-free.
- No-Egg Version: Skip yolks and increase cornstarch slightly; you’ll get a pudding-style chocolate pie that still sets beautifully.
Make-Ahead, Storage & Food Safety
This is the ultimate make-ahead dessert. Assemble the pie, press wrap on the surface, and chill up to 3 days before serving. Add whipped cream shortly before slicing so it stays billowy.
Store leftovers covered and refrigerated; the texture stays silky and stable. Because the custard is dairy- and egg-based, keep the pie refrigerated and avoid leaving it at room temperature for extended periods.
Freezing isn’t recommended—starch-thickened custards can turn grainy after thawing.
Troubleshooting & Quick Saves
- Filling is too thin: Return to the saucepan and bring it back to a gentle boil, whisking for 30–60 seconds more to fully activate the starch.
- Lumps appeared: Push the hot custard through a fine-mesh strainer; finish with a vigorous whisk.
- Crust got soft: Next time, prebake thoroughly and cool completely; for very moist climates, brush the cooled crust with a little melted chocolate to create a moisture barrier before filling.
- Chocolate seized: Usually caused by overheating chocolate directly. In this method the chocolate melts into hot custard, so seizing is rare—just whisk until glossy.
Nutrition Per Serving
For a 9-inch pie cut into 10 slices with whipped cream topping, you’re looking at an estimated ~380–460 calories per slice, with carbohydrates from the crust and starch, fats from dairy and chocolate, and a modest amount of protein from milk and yolks.
Exact numbers vary by crust choice, chocolate percentage, and how generously you top with cream.
Serving Ideas That Elevate
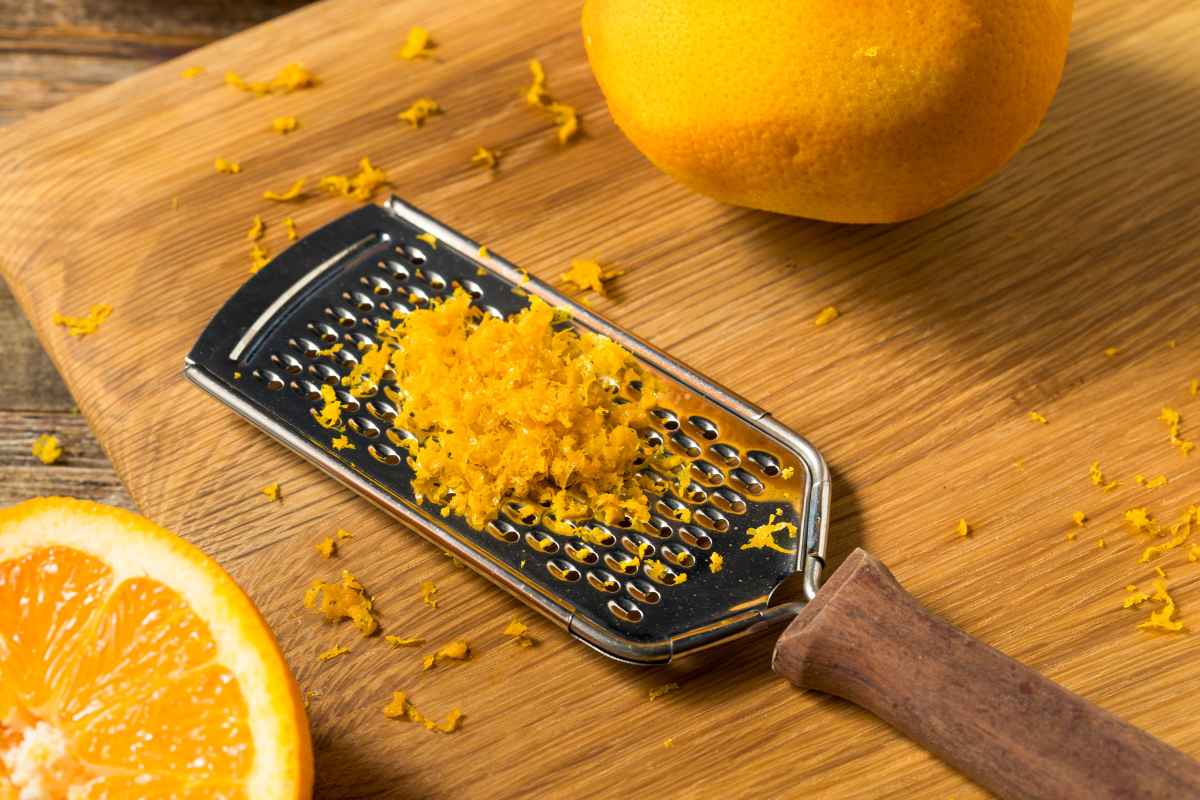
A scatter of cacao nibs adds crunch without extra sweetness. Orange zest or a thin ribbon of salted caramel plays beautifully with dark chocolate. Fresh raspberries cut the richness, while a pinch of flaky salt on each slice makes the chocolate pop.
Chocolate Pie, Upgraded
With a prebaked crust, a silky stovetop filling, and a good chill, this classic chocolate cream pie tastes like a bakery favorite—only better, because it’s yours.
It’s the kind of dessert that rewards patience with show-stopping slices, make-ahead convenience, and pure chocolate comfort in every bite.
Enjoy Watching This Video with a Similar Recipe

Source: Preppy Kitchen
Did you find this post useful or inspiring? Save THIS PIN to your Cooking Board on Pinterest! 😊
Other Recipes You’ll Love 😍