
Delicious Chocolate Scones You Can Make in Minutes

If you're in the mood for something sweet, chocolaty, and easy to make, this chocolate scones recipe might just become your new favorite treat. These scones have a rich cocoa flavor, a soft interior, and slightly crisp edges.
Whether served warm for breakfast, as an afternoon snack, or alongside a cup of coffee, they’re a delicious way to satisfy any chocolate craving.
A Classic Treat with a Chocolate Twist
Scones are a beloved pastry known for their crumbly texture and subtle sweetness. While traditionally made with fruit or served plain, adding cocoa and chocolate chips transforms this humble baked good into something extra indulgent.
Indulge Your Sweet Tooth – Discover Irresistible Dessert Recipes!


The key to a great scone is balancing richness with a tender crumb, and this version nails it.
These chocolate scones use simple pantry ingredients and don’t require any special equipment. The process is straightforward and beginner-friendly, making them perfect for home bakers looking for a quick chocolate fix.
Ingredients That Make the Difference
One of the most appealing parts of this recipe is that the ingredients are basic but thoughtfully combined. You'll need:
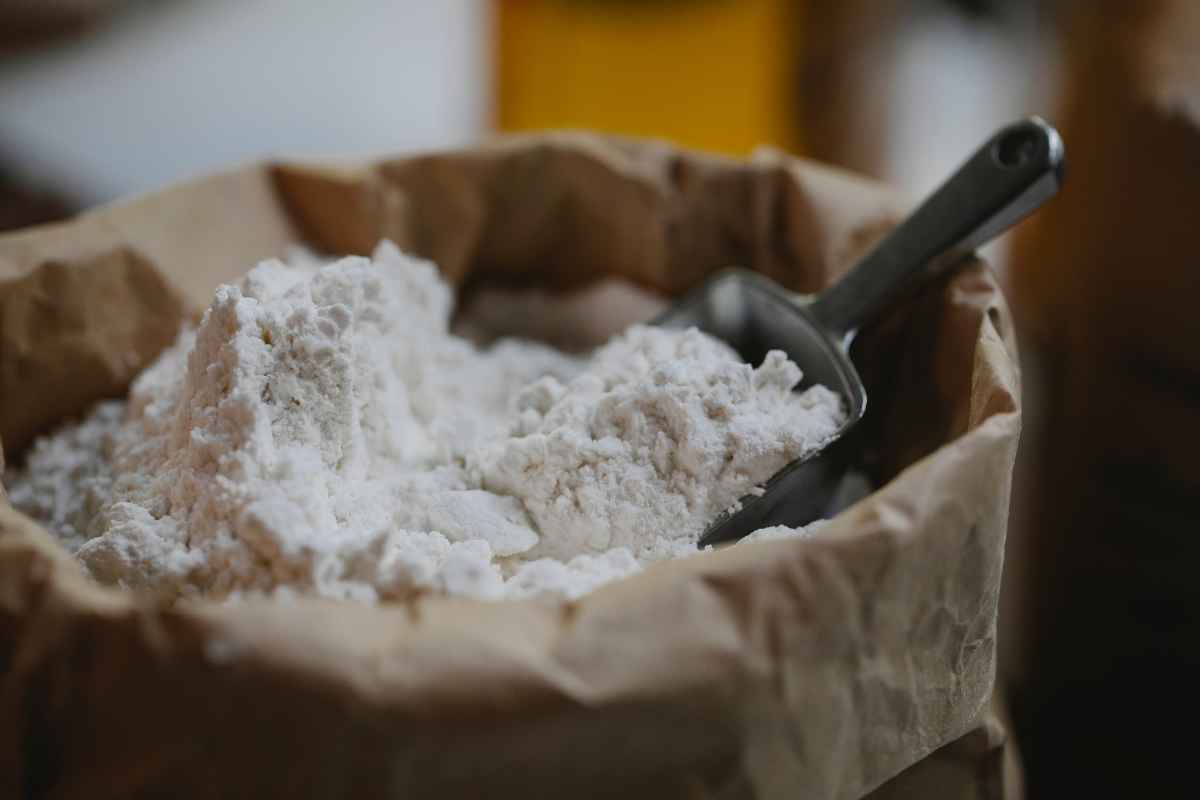
- All-purpose flour for structure
- Unsweetened cocoa powder to bring deep chocolate flavor
- Granulated sugar for just the right sweetness
- Baking powder to help the dough rise
- A pinch of salt to balance the flavors
- Cold unsalted butter, which gives the scones their tender, flaky texture
- Milk or cream to bring the dough together
- An egg for richness
- Semi-sweet chocolate chips or chopped chocolate pieces for extra gooey bites
Using cold butter is essential. It creates small steam pockets as the scones bake, giving them a light and airy interior. Be sure not to overwork the dough—handling it gently ensures a soft final texture.
Mixing the Dough with Care
When preparing the dough, combine the dry ingredients first. Incorporate the cold butter by cutting it into the flour mixture until it resembles coarse crumbs. This step is crucial for achieving that signature crumbly-yet-soft consistency.
After that, stir in the wet ingredients just until the dough comes together. Avoid overmixing—it’s okay if the dough looks a bit rough. Finally, fold in the chocolate chips for bursts of sweetness in every bite.
Shaping and Baking to Perfection
Once the dough is ready, shape it into a round disc on a lightly floured surface. Use your hands to gently flatten it, then cut it into wedges, much like slicing a pie. This gives each scone an even, rustic look.
Place the wedges on a baking tray lined with parchment paper. A light egg wash on top adds a subtle golden sheen and encourages a crisp finish on the surface.
Bake the scones in a preheated oven until the tops are set and the bottoms are slightly golden. They should still feel soft and tender in the center when done, so keep a close eye on them in the final minutes of baking.

Optional Additions and Variations
One of the joys of making scones is how easily they can be customized. Once you're comfortable with the base recipe, try adding:
- A dash of cinnamon or espresso powder to deepen the chocolate flavor
- White chocolate chips for a contrast in color and taste
- Chopped nuts, such as pecans or walnuts, for added crunch
- A drizzle of chocolate glaze or a dusting of powdered sugar on top for presentation
These variations allow you to personalize the scones based on your preferences or the occasion. They're also a great way to use up any chocolate or toppings you have on hand.
Serving Suggestions for Chocolate Scones
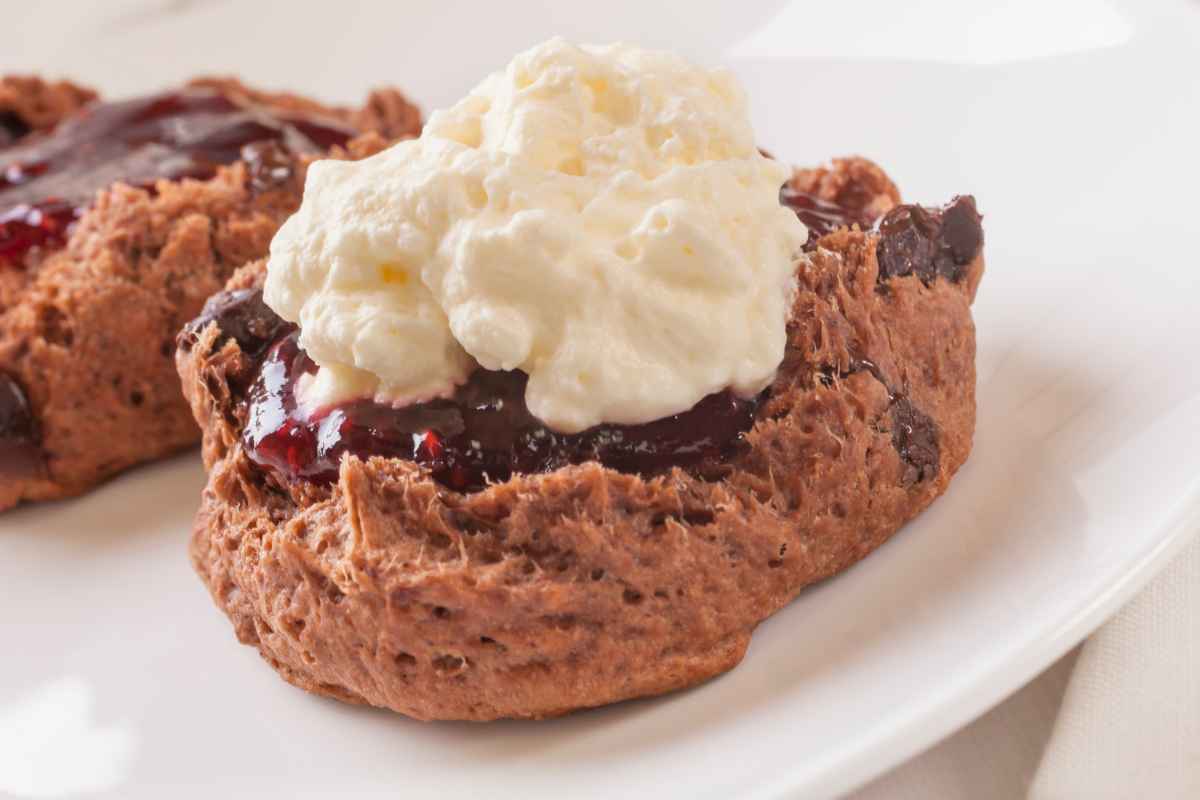
These scones are best enjoyed fresh out of the oven, slightly warm with the chocolate still melted inside. You can serve them plain or with a small pat of butter, clotted cream, or even a dollop of whipped cream for extra indulgence.
Pair them with a cup of black coffee or a glass of cold milk, depending on whether you want to contrast or complement the richness. They're also lovely served at a weekend brunch, tea party, or as a homemade dessert for guests.
Storage Tips
If you have leftovers, store them in an airtight container at room temperature for up to two days. You can also refrigerate them to extend their shelf life a bit longer. Before serving, reheat them briefly in the oven or microwave to bring back their fresh-baked texture.
For long-term storage, freeze the baked and cooled scones. Wrap each individually, and store them in a freezer bag for up to a month. When you're ready to eat, just thaw and warm them for a comforting snack.
A Comforting Treat Made Simple
What makes this recipe so satisfying is how effortlessly it comes together. With a handful of ingredients and a little time, you’ll end up with a batch of rich, chocolatey scones that taste like they came from a bakery.

They’re the kind of treat that feels fancy but is grounded in homemade comfort. Whether you're baking for yourself, your family, or friends, these scones are sure to bring a bit of joy to your day.
Enjoy Watching This Video with a Similar Recipe

Source: Preppy Kitchen
Did you find this post useful or inspiring? Save THIS PIN to your Cooking Board on Pinterest!

Other Recipes You’ll Love 😍