
- Urbaki Cooking
- blog
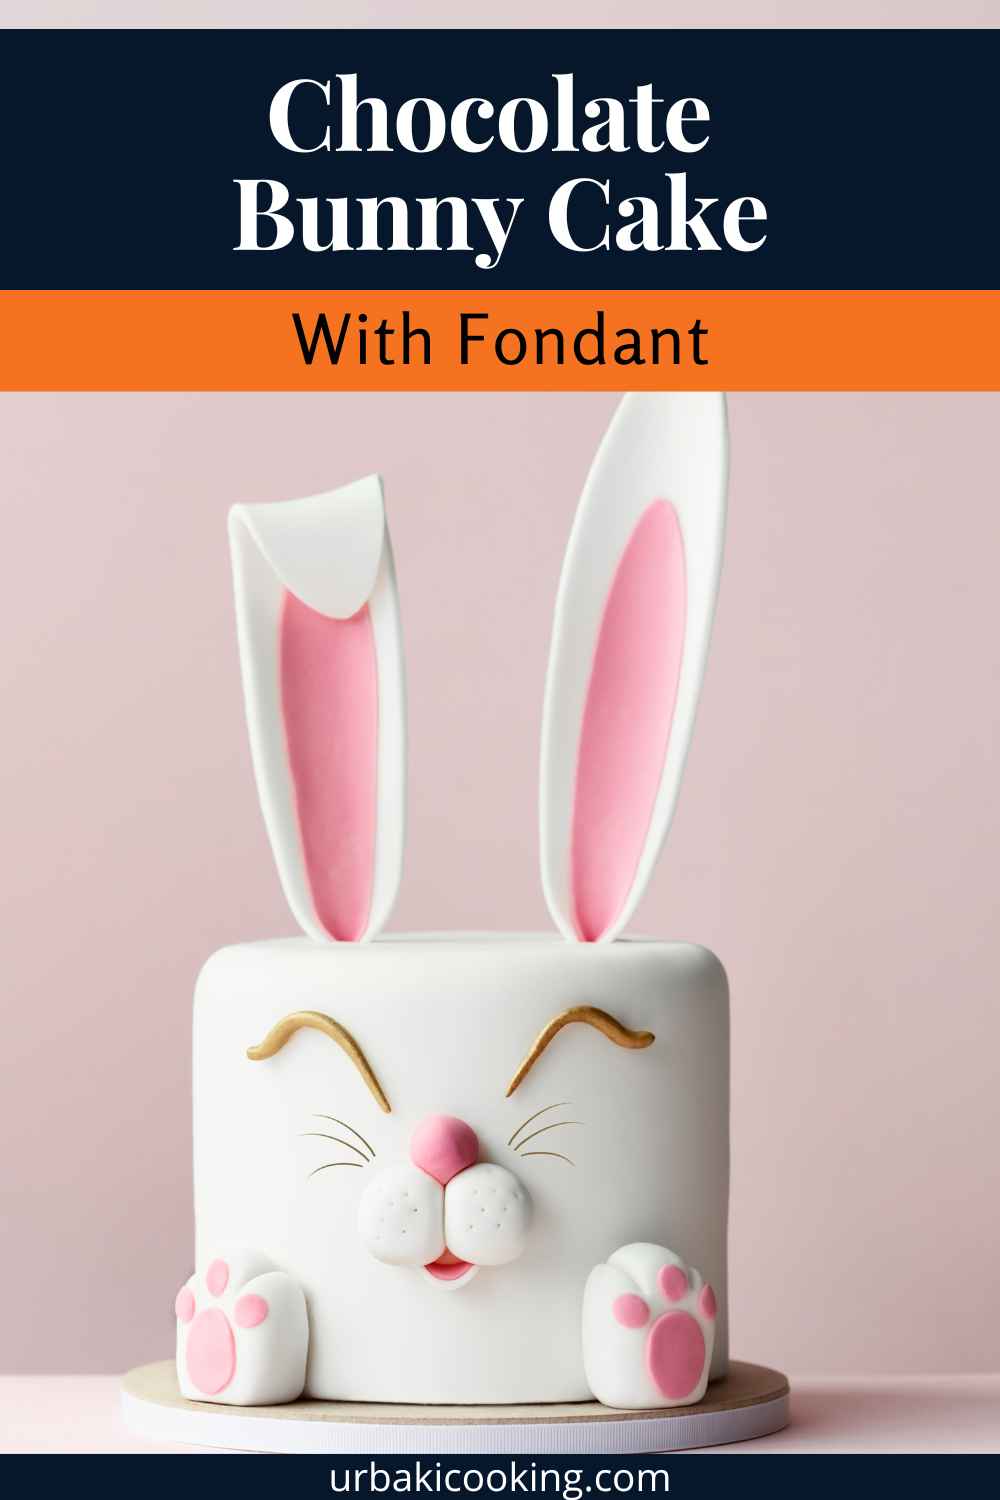
- Chocolate Bunny Cake with Fondant
Chocolate Bunny Cake with Fondant
Sarah Thompson
06/02/2025 · Updated on: 05/02/2025

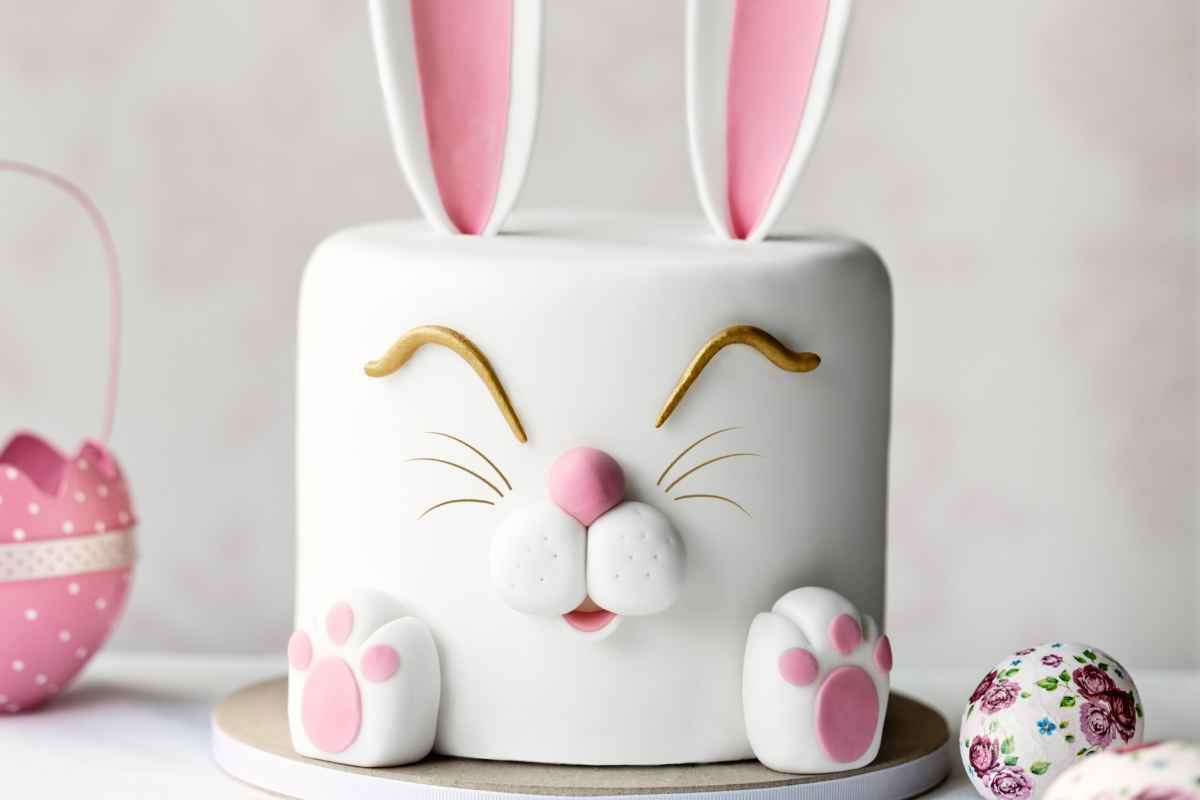
Easter is the perfect time to celebrate with adorable and delicious desserts, and nothing captures the spirit of the holiday quite like a Chocolate Bunny Cake covered in fondant. This rich, moist chocolate cake is shaped into a cute bunny, decorated with smooth fondant and colorful details that will make it the centerpiece of your Easter table.
Whether you’re baking for a family gathering, an Easter party, or simply as a fun baking project, this recipe is easy to follow and full of creative possibilities. Let’s dive into this festive and delightful cake that’s just as fun to make as it is to eat! 🐰🍫🎂
Why You’ll Love This Chocolate Bunny Cake
✅ Perfect for Easter – A festive and fun dessert that fits the holiday theme.
✅ Rich and Moist – A chocolate cake base that’s flavorful and decadent.
✅ Customizable – You can decorate the bunny with different colors and patterns.
✅ Great for All Ages – Kids and adults alike will love this adorable bunny cake.
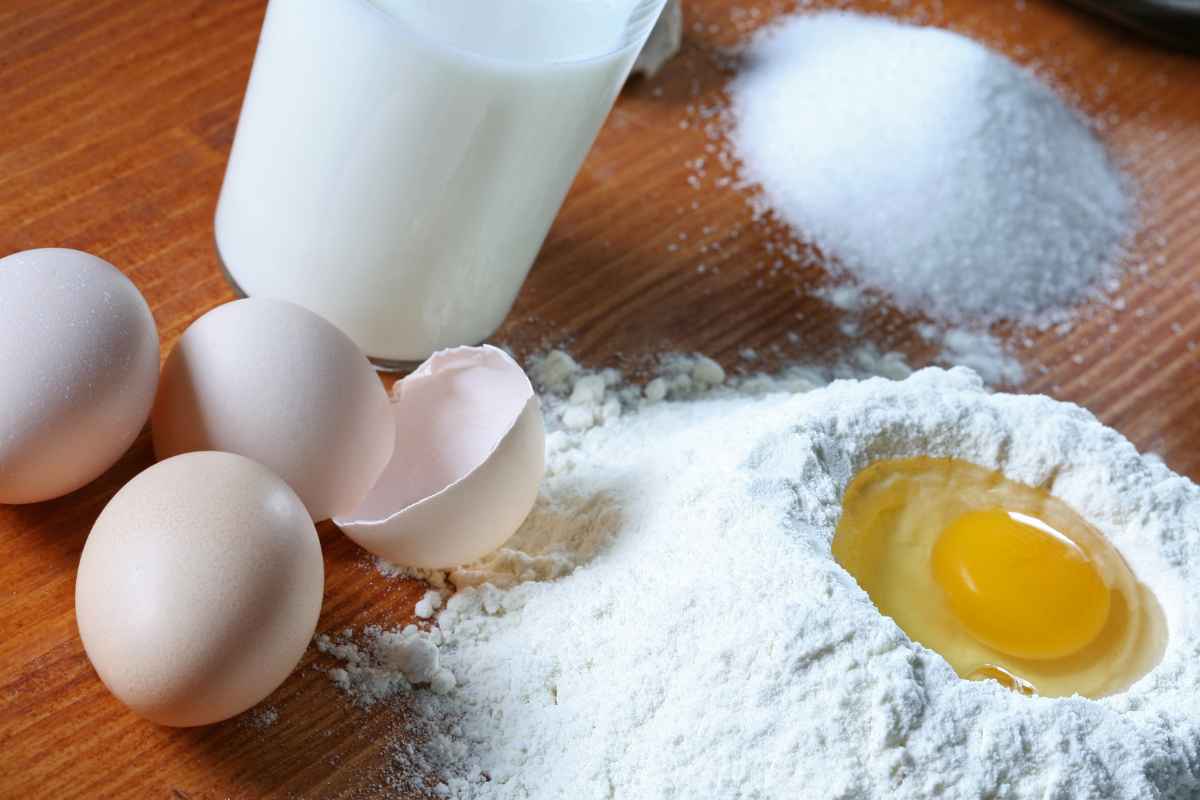
Ingredients You’ll Need
For the Chocolate Cake
- 2 ½ cups all-purpose flour
- 1 ¾ cups granulated sugar
- ¾ cup unsweetened cocoa powder
- 2 tsp baking soda
- 1 tsp baking powder
- ½ tsp salt
- 1 cup buttermilk
- ½ cup vegetable oil
- 2 large eggs
- 2 tsp vanilla extract
- 1 cup hot water or hot coffee
For the Chocolate Buttercream Frosting
- 1 cup unsalted butter (softened)
- 3 cups powdered sugar
- ¾ cup cocoa powder
- ½ cup heavy cream
- 1 tsp vanilla extract
For the Fondant Decorations
- 1 lb white fondant (for the bunny’s face and ears)
- Pink fondant (for the ears and nose)
- Black fondant (for the eyes and whiskers)
- Edible food coloring pens (optional for extra details)
Step-by-Step Instructions
Step 1: Bake the Chocolate Cake
- Preheat your oven to 350°F (175°C). Grease and flour two 8-inch round cake pans.
- In a large mixing bowl, whisk together flour, sugar, cocoa powder, baking soda, baking powder, and salt.
- Add buttermilk, vegetable oil, eggs, and vanilla extract. Mix until smooth.
- Gradually pour in the hot water or coffee, stirring until the batter is well combined.
- Divide the batter evenly between the two cake pans.
- Bake for 30-35 minutes, or until a toothpick inserted in the center comes out clean.
- Let the cakes cool completely before assembling.
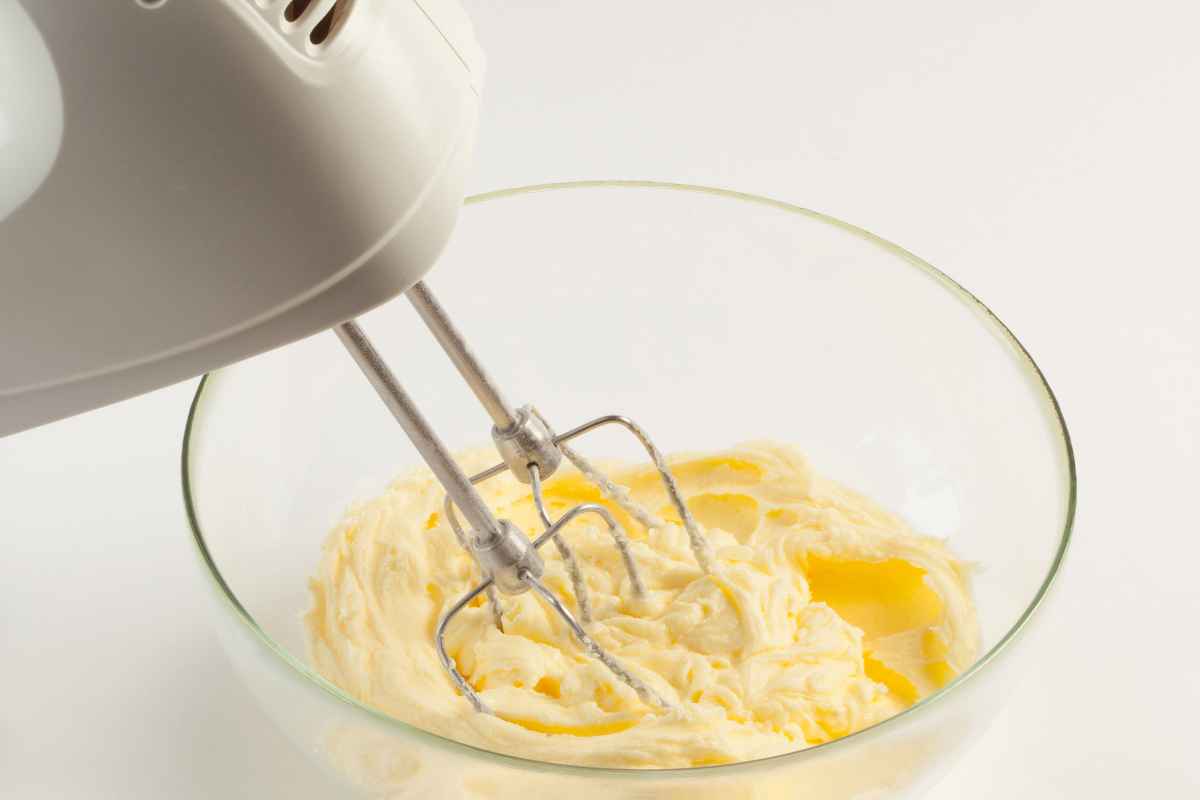
Step 2: Prepare the Chocolate Buttercream Frosting
- In a mixing bowl, beat butter until smooth and creamy.
- Add powdered sugar and cocoa powder, mixing at low speed.
- Pour in heavy cream and vanilla extract, then beat until light and fluffy.
- If needed, add more cream for a softer consistency or more powdered sugar for a thicker frosting.
Step 3: Assemble the Bunny Cake
- Cut one of the cakes into two equal halves—these will be used for the bunny’s ears.
- Place the whole cake on a large serving plate—this will be the bunny’s face.
- Position the two halves on the top sides of the face, shaping them to resemble bunny ears.
- Spread a thin layer of chocolate buttercream all over the cake for a smooth base before adding fondant.
Step 4: Cover with Fondant
- Roll out the white fondant to about ¼-inch thickness.
- Gently drape it over the entire cake, smoothing it down with your hands or a fondant smoother.
- Trim off any excess fondant around the edges.
Step 5: Decorate the Bunny’s Face
Making the Ears:
- Roll out pink fondant and cut two smaller ear shapes.
- Attach them inside the white fondant ears using a small amount of water or edible glue.
Making the Bunny’s Eyes, Nose, and Mouth:
- Shape black fondant into small circles for the eyes.
- Use pink fondant for the nose, shaping it into a small triangle or oval.
- Roll out thin strips of black fondant for the whiskers.
- Attach the features using a dab of water to secure them in place.
Fun Variations and Creative Twists
Want to personalize your Chocolate Bunny Cake? Try these fun ideas!
🎨 Pastel Colors – Use pastel-colored fondant to give your bunny a soft springtime look.
🍓 Berry Filling – Add a layer of strawberry or raspberry jam between the cake layers for a fruity twist.
🥕 Carrot Cake Version – Swap the chocolate cake for carrot cake and use cream cheese frosting instead of buttercream.
🌸 Floral Decorations – Add fondant flowers around the cake for an extra festive touch.
How to Store Your Bunny Cake
To keep your cake fresh and delicious, follow these storage tips:
✅ Refrigerate: If not serving immediately, store the cake in an airtight container in the fridge for up to 3 days.
✅ Room Temperature: If serving within the same day, keep the cake at room temperature in a cool place.
✅ Freezing: You can freeze the cake without fondant for up to one month. Wrap it tightly in plastic wrap before freezing.
Serving and Presentation Tips
🐣 Easter Table Centerpiece – Place your bunny cake on a decorative platter with Easter eggs and edible grass.
🎁 Gift-Worthy Dessert – Wrap slices in cute Easter packaging for a delicious homemade gift.
🍨 Pair with Ice Cream – Serve with a scoop of vanilla or strawberry ice cream for a perfect dessert pairing.
A Fun and Delicious Easter Treat
This Chocolate Bunny Cake with Fondant is the perfect dessert for Easter—adorable, delicious, and fun to make! The rich chocolate cake, paired with smooth fondant decorations, creates a treat that’s both eye-catching and indulgent. Whether you’re making it for family, friends, or as a festive centerpiece, this cake is sure to delight everyone at your Easter gathering.
Would you try this Chocolate Bunny Cake for Easter? Let us know in the comments!
🐰🍫🎂 Happy Easter and happy baking! 🎉
Enjoy Watching This Video with a Similar Recipe

Source: AtHomeWithShannon
Did you find this post useful or inspiring? Save THIS PIN to your Cooking Board on Pinterest!
Sarah Thompson
Sarah sees cooking as a source of creativity and fun. Although she likes to keep things simple, she’s always looking for ways to add a special twist to every dish. She loves discovering new culinary techniques and adapting them to her personal style, making every meal a memorable experience.
Other Recipes You’ll Love 😍