
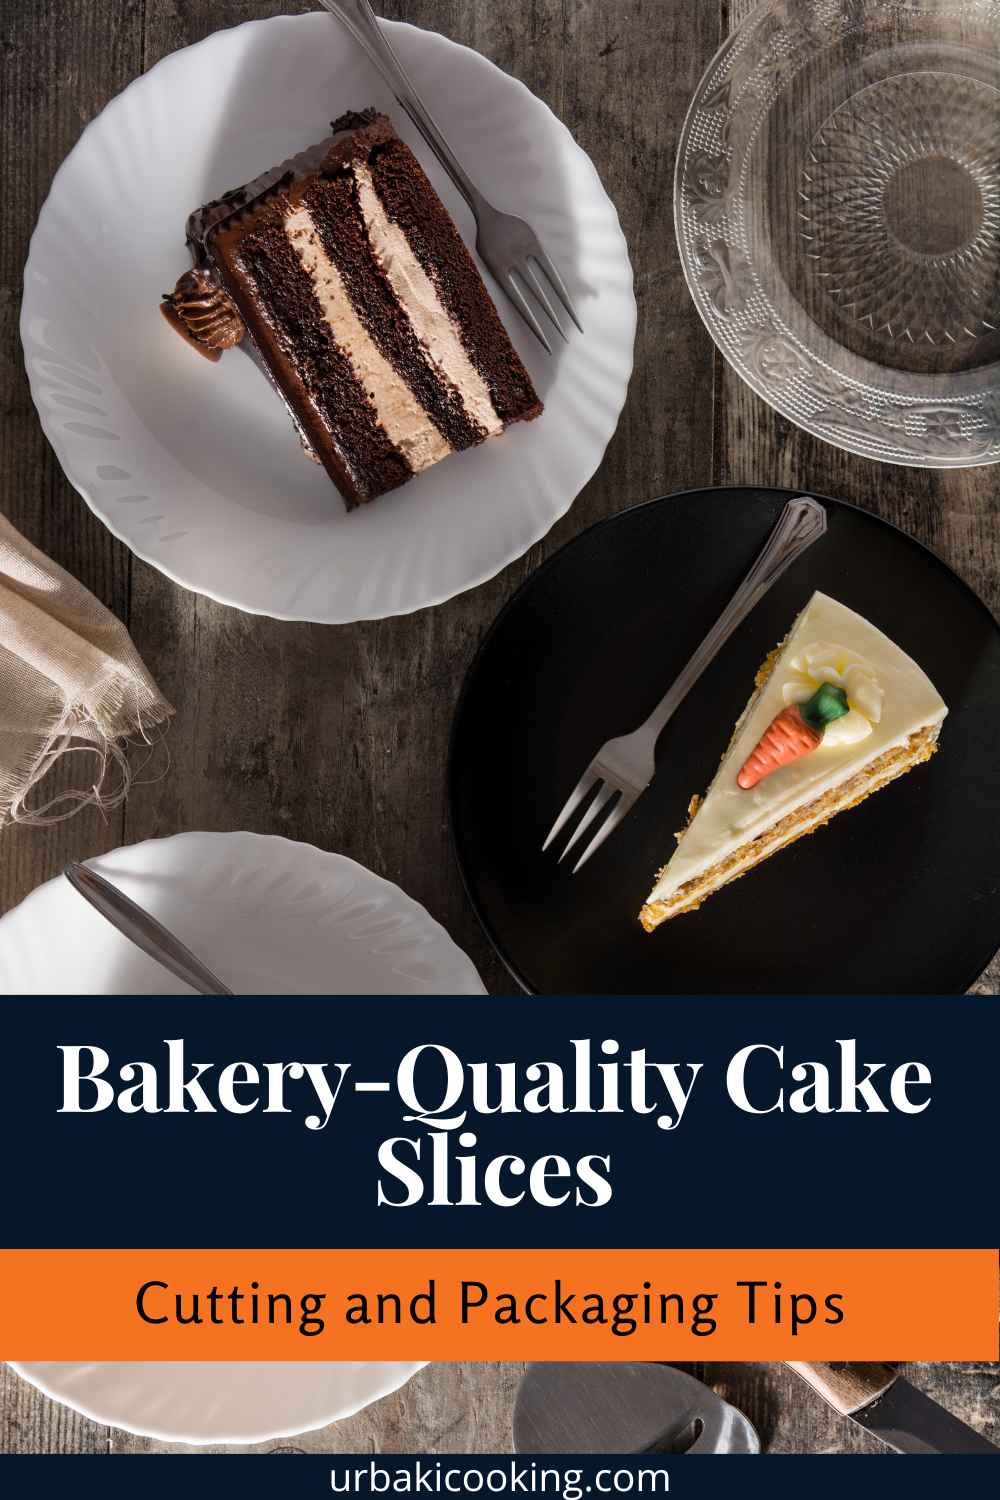
Bakery-Quality Cake Slices: Cutting and Packaging Tips

If you love baking—or you’re planning to sell treats at markets, cafés, or online—learning how to make and package cake slices beautifully and safely is a game-changer.
This friendly guide walks you through choosing sturdy recipes, baking for consistency, slicing with bakery-clean edges, protecting freshness, and presenting each portion with professional polish, all in a smooth, easy-to-follow flow.
Pick Cake Bases That Hold Their Shape After Cutting
Not every cake behaves the same once it’s cut, so aim for structure with balanced moisture that stays tall, neat, and delicious.
Indulge Your Sweet Tooth – Discover Irresistible Dessert Recipes!


Dense butter and pound cakes naturally resist crumbling, while well-chilled sponge or chiffon layers can slice cleanly when paired with firm, stable fillings like ganache, Swiss or Italian meringue buttercream, or stabilized whipped cream.
If you love fruit, thicken compotes with pectin or a little cornstarch so they don’t seep into the crumb, and when you use softer fillings, pipe a buttercream dam around the edge and chill the assembled cake thoroughly.
Avoid loose pastry creams, runny jams, and heaps of fresh-cut fruit unless you stabilize or contain them, and remember that cold cake slices cleaner than room-temp cake.
In short, select recipes that set firmly, chill them well, and keep the fillings tidy so every bite holds together from first cut to last crumb.

Bake for Even Layers and Predictable Structure
Uniform slices start in the oven with evenly portioned batter, level layers, and complete cooling.
Weigh your batter into pans to keep heights consistent, use cake strips to minimize domes, and bake until the center springs back or reads 200–210°F (93–99°C) for butter cakes.
Let layers cool completely, wrap them to prevent dryness, and chill for 1–2 hours or overnight to lock in structure. This simple routine reduces crumbs, tames uneven edges, and gives you a reliable base that responds beautifully to a hot, clean knife.
Consistency now pays off later when you’re portioning dozens of slices; even a small investment in precision during baking translates into faster cutting, cleaner presentation, and professional, repeatable results that customers notice.
Create Bakery-Clean Slices with the Right Tools and Technique
Crisp edges and tidy layers depend on a long, sharp blade, steady pressure, and frequent cleaning.
Chill the cake until it feels firm but not frozen solid, then square any ragged edges and mark the portions with a ruler and food-safe guide points so sizes remain uniform—1.5 × 4 inches for petite portions or 2 × 4 inches for generous slices are common standards.
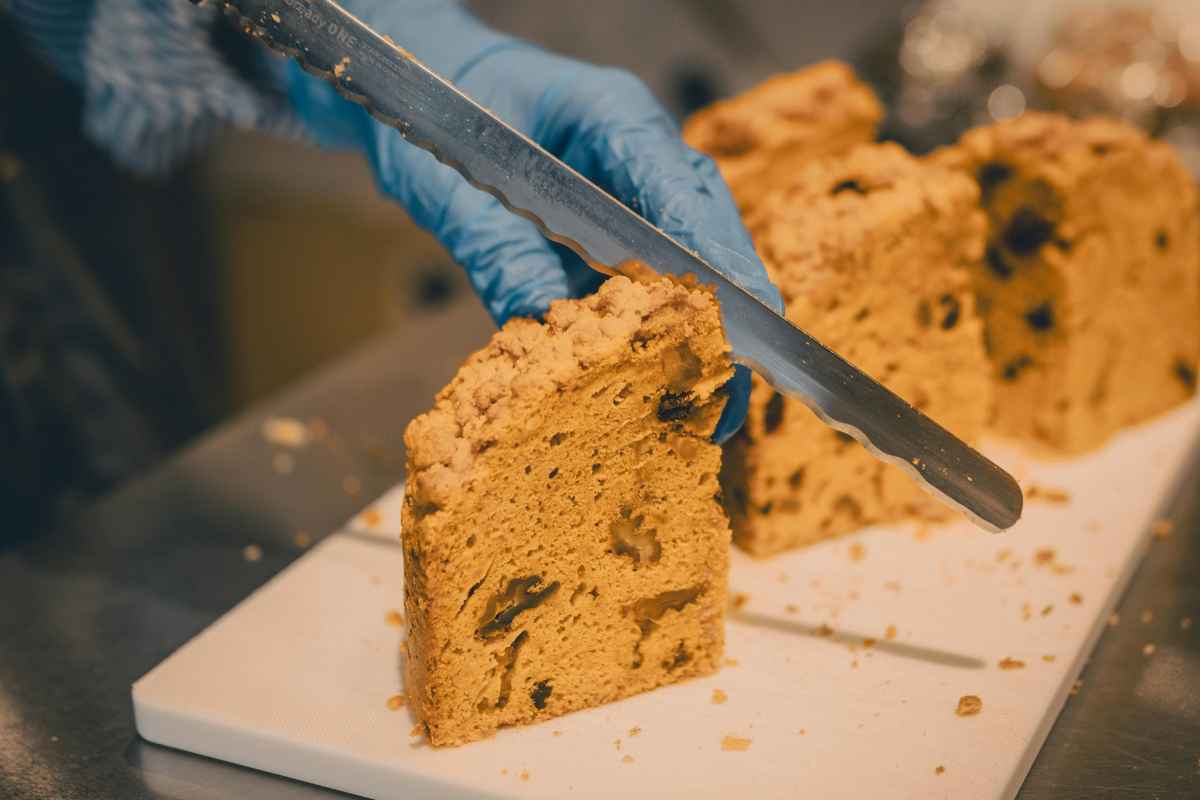
Heat your knife in hot water, wipe it dry, and press straight down in one confident motion rather than sawing, which generates crumbs and smears.
After each cut, wipe and rewarm the blade to keep edges pristine, and use a bench scraper to slide each slice, perched on a greaseproof parchment rectangle, to its tray or container.
This gentle, repeatable technique preserves the design of your layers, prevents frosting drag, and ensures the first slice looks as polished as the last.
Lock In Freshness and Food Safety from Oven to Sale
Once your slices are cut, protect quality with correct temperatures, smart storage, and clear timing.
Perishable fillings like dairy creams and fresh fruit shouldn’t remain at room temperature longer than two hours, so get slices covered and chilled at 34–40°F (1–4°C) as soon as practical.
Keep containers closed enough to prevent drying yet avoid trapping excess condensation, and if you need make-ahead convenience, wrap slices snugly in plastic, add a foil layer for extra protection, and freeze for up to one to two months; thaw in the refrigerator, still wrapped, so moisture redistributes evenly.
For customers with sensitivities, include clear allergen notes for gluten, dairy, eggs, nuts, and soy, and remember that transparent safety practices build trust as much as flavor does.

Protect Every Slice with Packaging That Shows It Off
Great packaging balances support, visibility, and a tight seal to keep your work safe and appealing. Tall, clear PET clamshells or windowed slice boxes highlight the layers while preventing smears, and acetate sleeves add a boutique touch for extra-tall cakes.
Always set slices on grease-resistant boards or parchment rectangles so they lift cleanly, and consider corrugated cards for heavier styles with fillings or add-ins.
Package when the frosting is cool and firm so sides don’t brush against the container, lower the slice in at a slight angle to avoid contact, and close the lid immediately to preserve moisture.
Finish with professional labels that name the flavor, list allergens, provide storage guidance such as “Keep refrigerated; best within 48 hours,” and include a date or batch code for easy rotation and quality control.
Move and Display Slices Without Melting the Finish
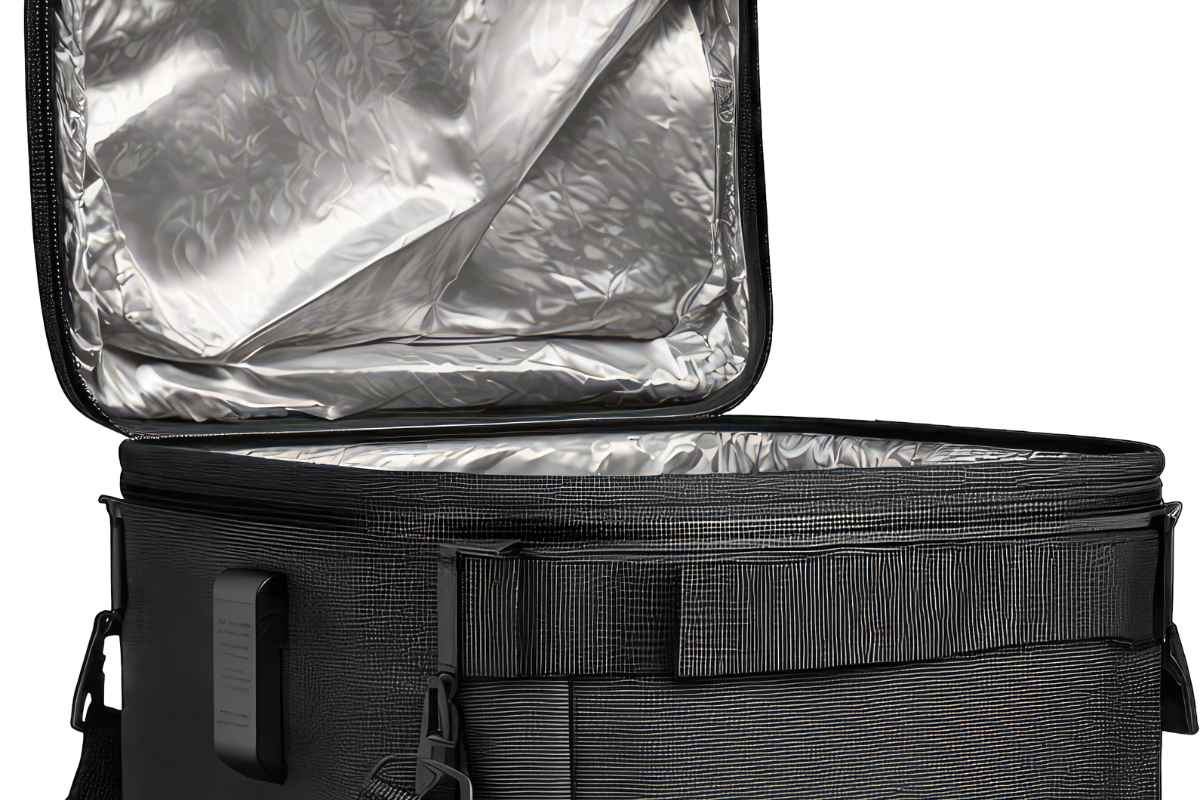
Transport is where neat slices either shine or slide, so keep everything cold, snug, and level.
Chill portions thoroughly before moving, carry them in insulated totes or coolers with ice packs in warm weather, and stabilize boxes with non-skid mats so containers don’t drift in transit.
At your booth or counter, use a dedicated display container to showcase a sample slice’s layers, elevate a few packages on risers to catch the eye, and provide clear, concise flavor notes so customers don’t have to guess.
Rotate stock with a simple first-in, first-out habit, keep backups chilled, and restock frequently so everything looks fresh, plentiful, and irresistible from open to close.
Set Clear Portions and Prices That Cover Your Costs
Clarity helps customers choose and helps you stay profitable, so define standard portion sizes—perhaps petite, standard, and deluxe—and align them with labeled dimensions and predictable pricing.
Calculate your ingredient cost per slice, then add labor, overhead, and a healthy profit margin to arrive at sustainable prices, and consider tiered pricing for premium flavors that include nuts, specialty chocolates, liqueurs, or intricate finishes.
When the economics are transparent to you, it’s easier to run promotions, bundle flavors, or offer multi-buy deals without undercutting your business.
Add Eco-Friendly, Premium Touches That Elevate Your Brand
Small, thoughtful details transform a good slice into a memorable brand moment. Choose compostable or recyclable containers and let customers know with a short note such as “Packaged in compostable materials—please dispose responsibly.”
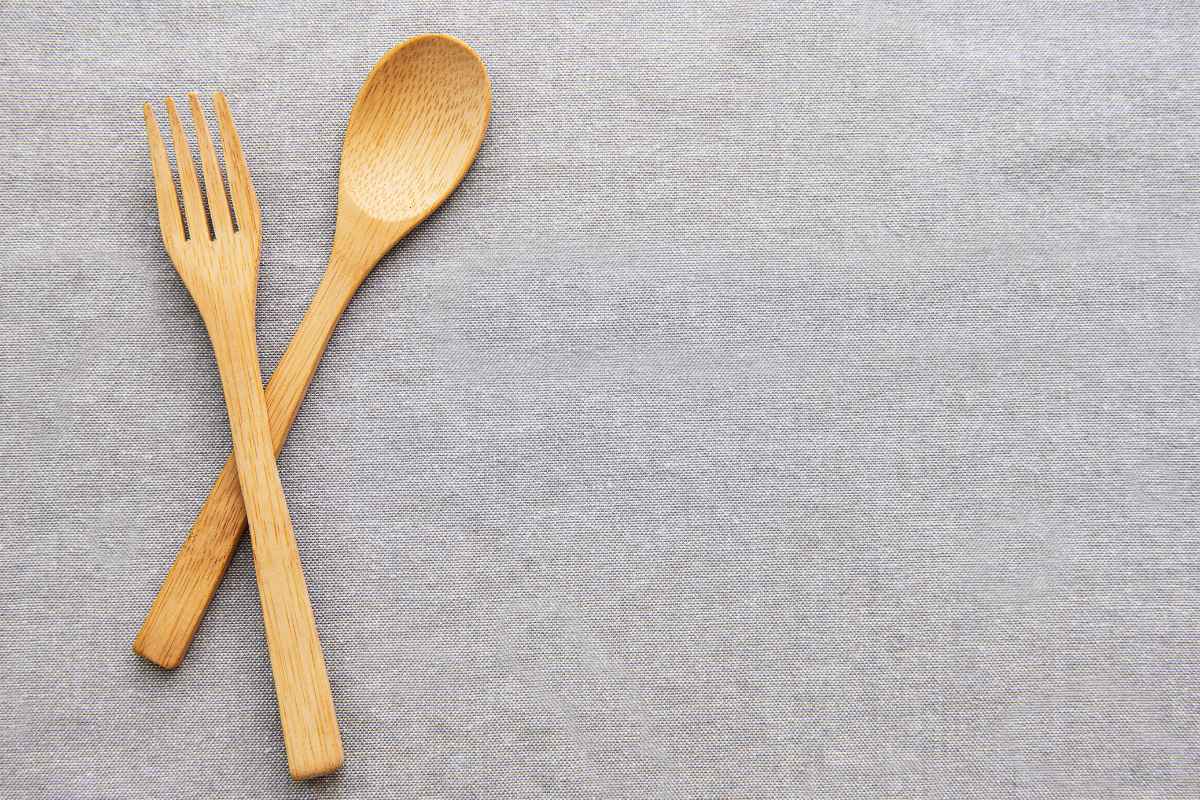
Offer a petite wooden fork or compostable spork tucked under a minimalist belly band, stamp your logo on a paper sleeve for a clean modern look, and consider a mini card with serving suggestions like “Enjoy chilled, or rest at room temperature for 15 minutes for softer buttercream.”
These touches communicate care, reduce waste, and make your packages gift-ready without much extra effort.
Ship Slices the Smart Way When Pickup Isn’t Possible
Local pickup is best for freshness and finish, but if shipping is unavoidable, reduce risk with cold, compression, and speed. Freeze slices solid, then vacuum-seal or wrap tightly in multiple layers to prevent freezer burn and movement.
Pack the portions inside rigid, insulated boxes with gel packs, fill every gap with crinkle paper or pads to stop shifting, and select a one- or two-day service so the cold chain survives the trip.
Mark parcels clearly as perishable and keep cool, and set expectations with customers that extremely delicate decorations may not travel as flawlessly as hand delivery, even with perfect packing.
Fix Common Slice Problems Before They Reach the Customer
Most hiccups have simple solutions when you know the pattern. Crumbly edges usually mean the cake is too warm or the blade too dull or dirty—chill longer and rewarm, then wipe the knife after each cut.

Filling squeeze-out suggests too much filling or too little containment, so pipe a buttercream dam, reduce thickness slightly, and press layers gently before chilling.
Condensation in the container can be eased by letting slices sit a few minutes after chilling before sealing or by adding a tiny micro-vent in humid conditions. Sliding during transport calls for taller containers, snug acetate collars, level packing, and a consistently cold environment.
Your Repeatable, Step-By-Step Workflow
Bake and cool your layers evenly, fill and crumb coat for stability, and chill until firm. Mark, heat, and clean your knife to cut straight down into consistent portions and place each slice on a greaseproof liner.
Chill again to set edges, package in snug, clear containers, and label with flavor, allergens, storage, and date. Keep everything cold for transport, display attractively with clear notes and prices, and rotate stock to maintain peak freshness all day.
Mastering how to make and package cake slices comes down to structure, chill, clean cuts, and tight packaging.
With the right cake base, a disciplined baking routine, a warm knife and cool head for slicing, and presentation that protects as much as it impresses, your slices will look boutique-worthy, stay fresh longer, and travel safely—whether they’re destined for a weekend market, a café counter, or a friend’s doorstep.
Enjoy Watching This Video with a Similar Recipe

Source: British Girl Bakes
Did you find this post useful or inspiring? Save THIS PIN to your Cooking Board on Pinterest!
Other Recipes You’ll Love 😍