
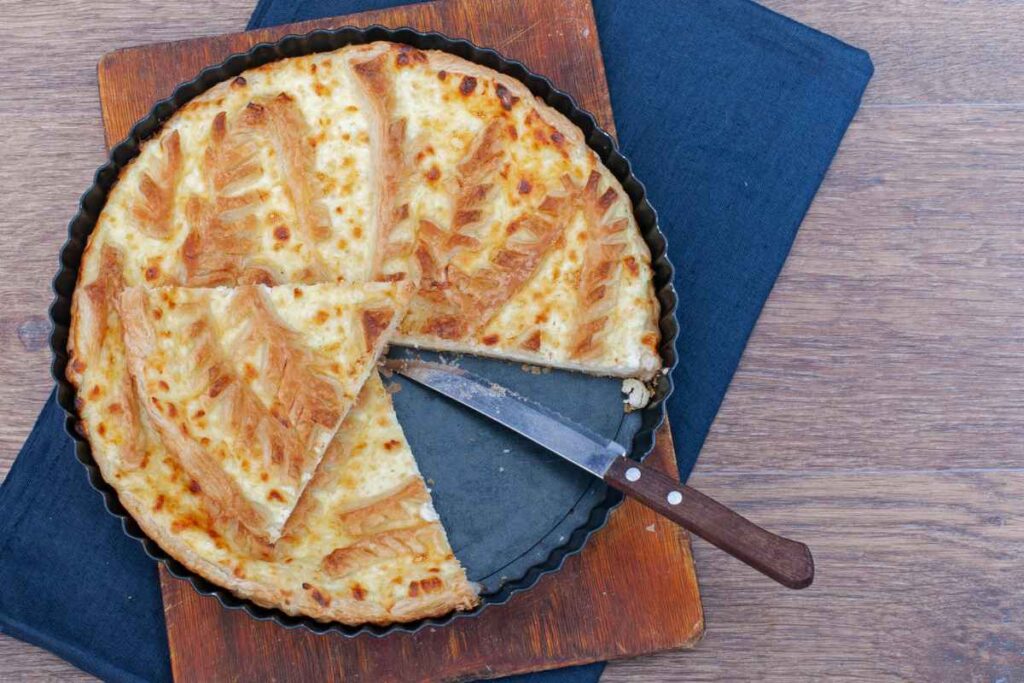
Ultra-Flaky Quiche Crust You’ll Make Again and Again
A great quiche starts long before the custard—its success hinges on a crust that’s shatteringly crisp, tender, and impossibly flaky. The secret isn’t just the ingredients; it’s temperature control, strategic hydration, and gentle handling.
In this guide, we’ll walk through the exact method that delivers a bakery-quality crust every time, with clear steps, pro tips, and make-ahead strategies so your quiche tastes as good on a Tuesday night as it does at a weekend brunch.
The Science of Flakiness
Flakiness happens when cold fat—usually butter—stays in distinct pieces inside the dough. In the oven, those butter pockets melt and release steam, lifting the dough into delicate layers.
Transform Your Kitchen – Discover Essential Cooking Tools and Gadgets!


To protect those layers, you need minimal mixing, low heat from your hands, and time to rest so the flour can fully hydrate. A small splash of acid (like vinegar or lemon juice) helps keep gluten in check, ensuring the crust stays tender, not tough.
Ingredients
- 1¼ cups (160 g) all-purpose flour
- ½ teaspoon fine sea salt
- 1 tablespoon granulated sugar (optional, enhances browning)
- 10 tablespoons (140 g) cold unsalted butter, cut into ½-inch cubes
- 2–4 tablespoons ice water, plus more as needed
- 1 teaspoon apple cider vinegar or lemon juice (optional but recommended)
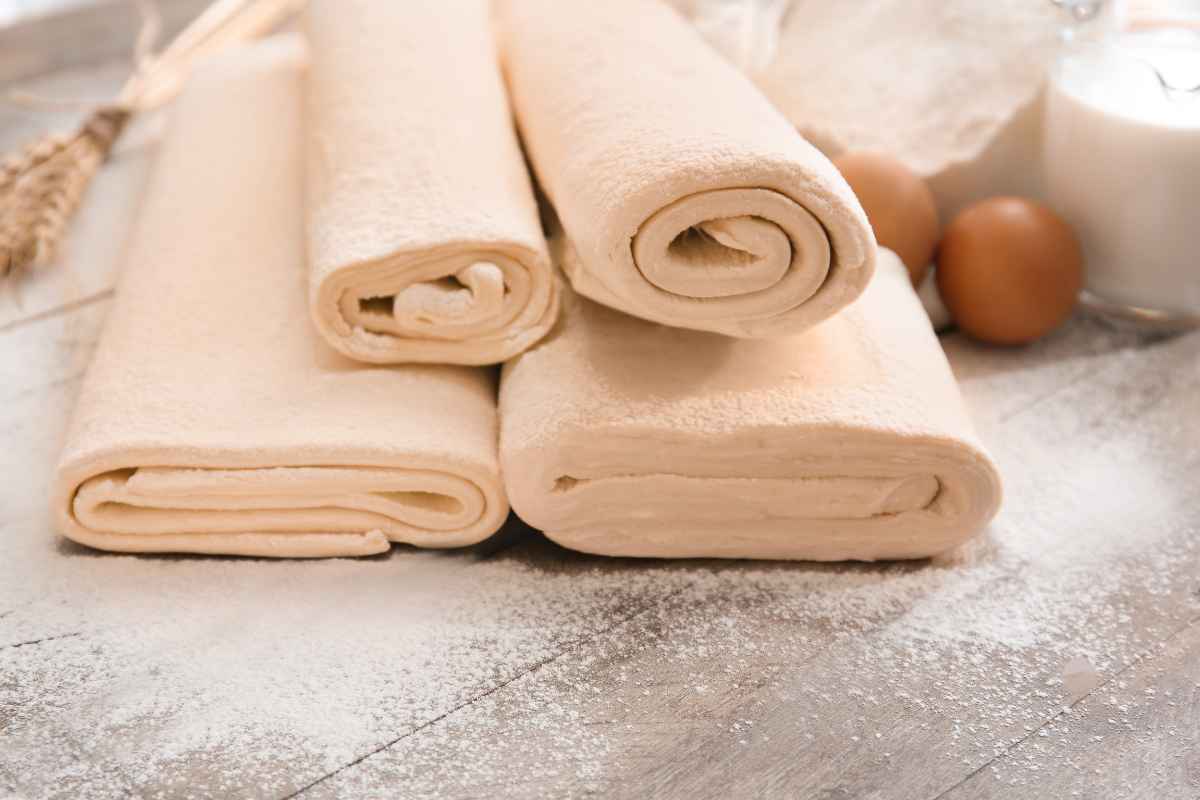
For a richer flavor and extra tenderness, you can substitute 2–3 tablespoons of butter with cold lard or use a 50/50 mix of all-purpose and pastry flour. The core technique remains the same: keep everything cold.

Essential Equipment
A mixing bowl, pastry blender (or two knives), rolling pin, plastic wrap, pie weights or dried beans, parchment paper, and a 9-inch pie dish or tart ring. If your kitchen runs warm, a chilled metal bowl and chilled rolling pin are smart upgrades.
Step-by-Step: The Fail-Safe Method
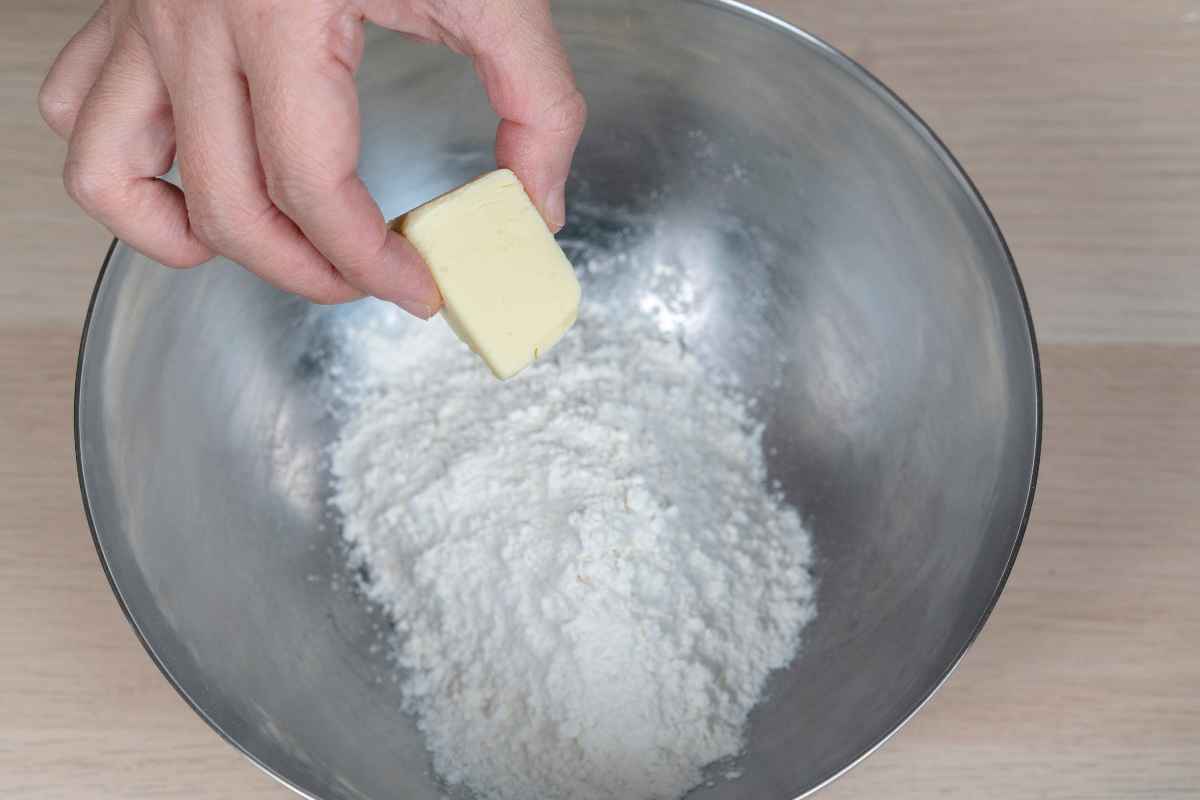
1) Combine Dry Ingredients
Whisk together the flour, salt, and (if using) sugar. This evenly distributes the seasoning and ensures the flour grains are ready to coat the butter. Aim for a bowl that’s cool to the touch—temperature is your quiet partner in this recipe.
2) Cut in the Butter
Add the cold butter cubes and toss to coat them in flour. Use a pastry blender to cut the butter into the flour until you have a mix of pea-sized pieces and thin, flat shards. Those shards are your future layers.
Visible butter is not a mistake—it’s the pathway to flake.
3) Add Acid and Just Enough Water
Drizzle in the vinegar or lemon juice. Then add ice water, one tablespoon at a time, tossing with a fork after each addition.
When a small handful of dough holds together with a gentle squeeze and there’s still some loose flour, you’ve added enough water. You’re aiming for shaggy, not sticky.
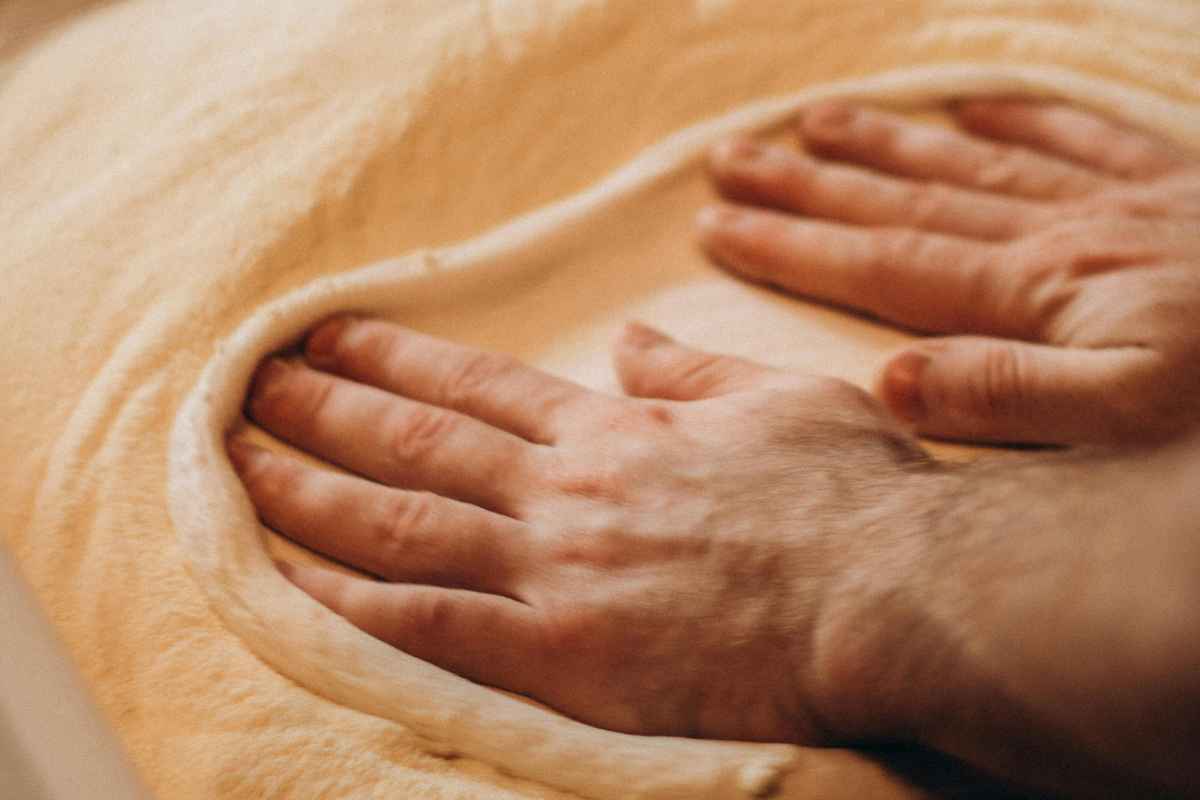
4) Bring It Together (Gently)
Turn the mixture onto a work surface. Using your palm, perform a light fraisage—push portions of dough forward once to smear the butter slightly, then gather it back up. Do this 2–3 times.
This creates thin butter streaks that translate into distinct layers. Do not knead like bread; overworking builds gluten and ruins tenderness.
5) Shape and Chill
Press the dough into a disk about 1-inch thick, wrap tightly, and chill at least 1 hour (up to 48 hours). This rest allows the flour to hydrate and the gluten to relax, leading to clean rolling and fewer cracks.
6) Roll With Confidence
On a lightly floured surface, roll from the center outward, rotating the dough a quarter-turn after each pass to maintain a circle and prevent sticking. If the edges split, don’t worry—just pinch them back together.
Aim for ⅛-inch (3 mm) thickness and a diameter about 2 inches larger than your dish.
7) Fit, Fold, and Chill Again
Lift the dough onto the rolling pin and ease it into the dish, letting it fall naturally into the corners—never stretch it. Trim excess, leaving a ¾-inch overhang.
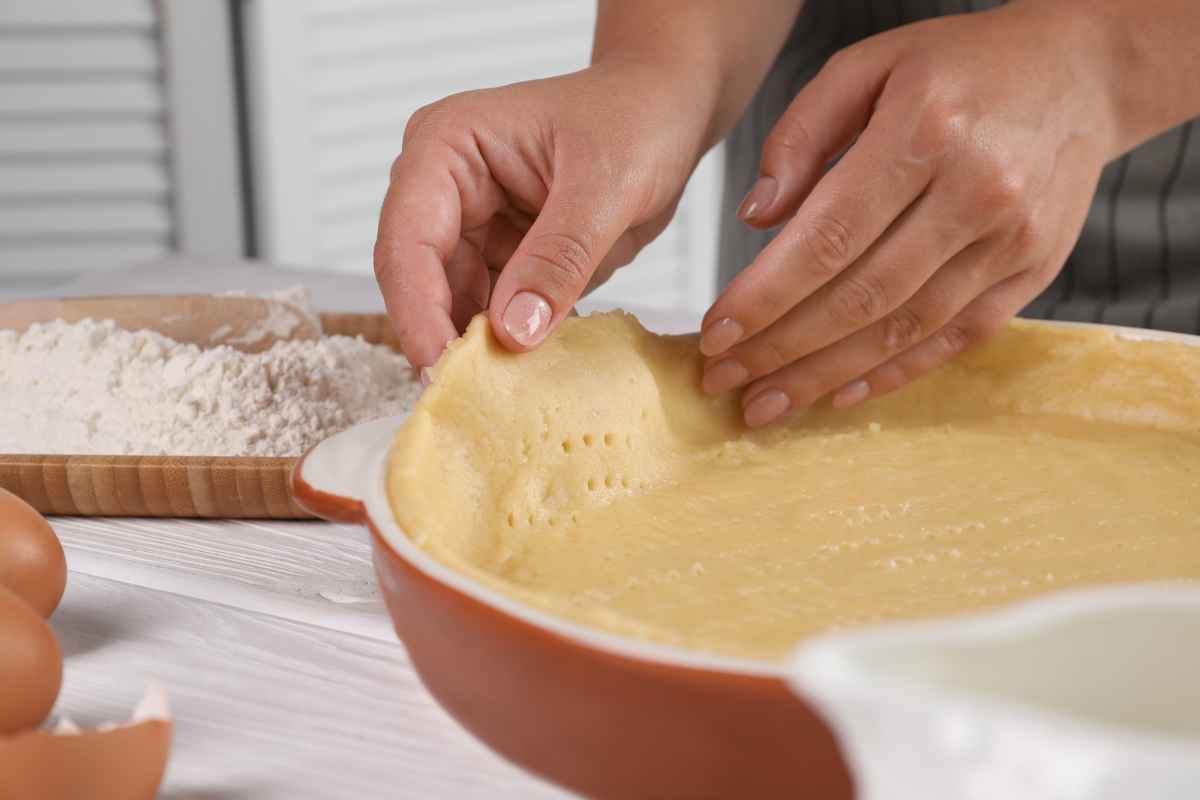
Fold the overhang under to build a sturdy rim and crimp or press with a fork. Chill 30 minutes (or freeze 15 minutes) to lock in shape.
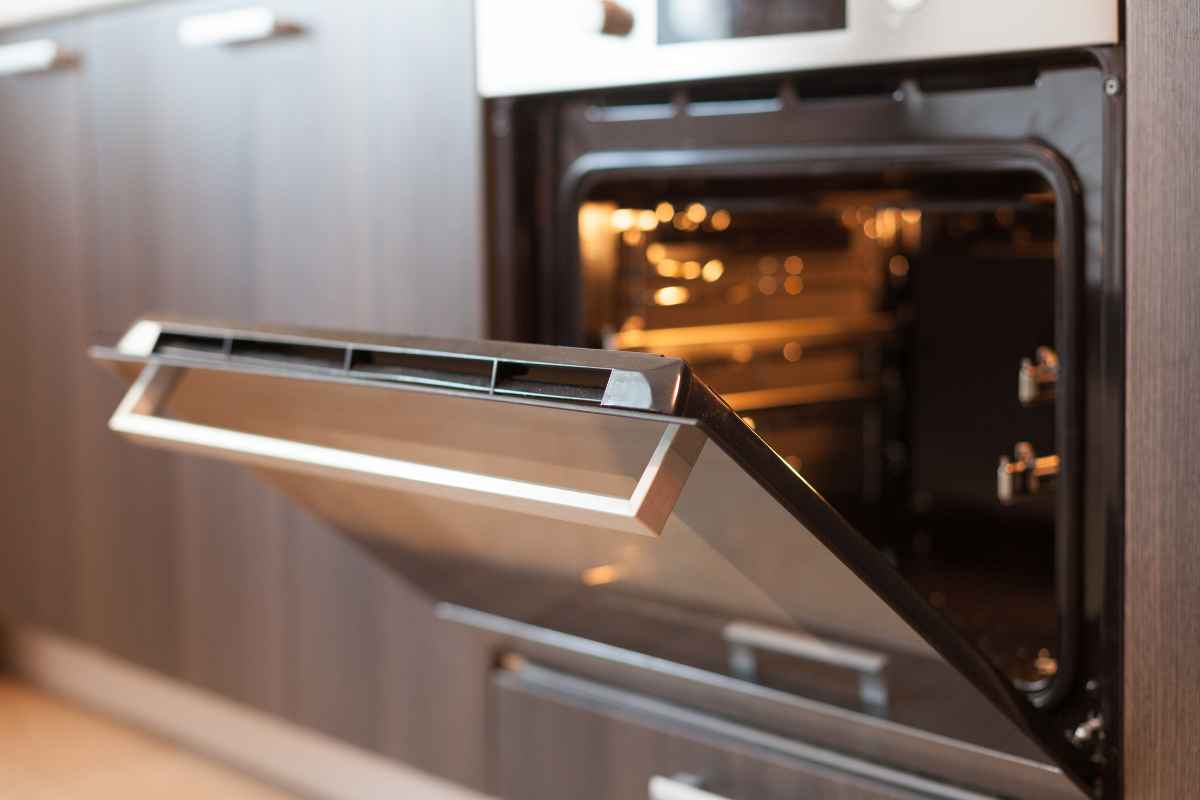
8) Blind Bake for Crispness
Preheat the oven to 400°F (205°C). Line the crust with parchment and fill with pie weights. Bake 15–18 minutes until the edges look set.
Carefully remove weights and parchment; prick the base with a fork and return to the oven 8–12 minutes more until the bottom looks dry and lightly golden.
For very wet fillings, brush the hot crust with a thin layer of beaten egg white and bake 2–3 minutes to seal. This step secures a leak-proof, crisp foundation.
Flavor Upgrades That Still Flake
- Cheesy crust: whisk 2 tablespoons finely grated Parmesan into the flour.

- Herb-flecked crust: add 2 teaspoons finely minced thyme or chives; pat herbs dry first.
- Nutty twist: swap ¼ cup flour for finely ground toasted almonds; the fat balance remains stable, and the flavor is unforgettable.
Each variation keeps the butter content intact, preserving the steam-powered lamination that makes the crust so airy.
Make-Ahead & Freezing Tips
- Refrigerate the dough disk up to 2 days; let it sit at room temperature 5–10 minutes before rolling if rock-hard.
- Freeze unbaked dough (disk or rolled into the dish) up to 2 months; wrap very tightly.
- Par-baked shells can be cooled, wrapped, and frozen for 1 month. Re-crisp at 375°F (190°C) for 6–8 minutes before filling.
These strategies mean brunch-level crust is always within reach.
Troubleshooting: Quick Fixes with Big Results

- Dough crumbles when rolling: You’re a touch dry. Lightly spritz the edges with ice water and press together; chill 10 minutes and try again.
- Butter leaks during baking: The dough may have warmed up or been over-handled. Chill longer before blind baking and ensure the oven is fully preheated.
- Soggy bottom: Either the blind bake was short or the filling was too wet. Bake longer after removing weights, and consider the egg-white seal for custard-heavy quiches.
- Shrinkage: Usually from stretching the dough to fit or skipping the chill. Ease, don’t stretch, and chill twice—once after shaping the shell and again after crimping.
How to Pair With Any Quiche Filling
A flaky shell is versatile enough to complement delicate or robust fillings. For a classic Lorraine, the crust’s buttery layers balance smoky bacon and creamy custard.

For vegetable-forward quiches—think leeks, spinach, or roasted peppers—the crisp base prevents moisture from turning the slice limp. Just remember: pre-cook watery vegetables and cool them before combining with the custard to protect your crust’s texture.
Professional Touches That Make a Difference
- Weigh your ingredients for precision; it’s the fastest route to consistency.
- Chill everything—butter, bowl, even the flour if your kitchen is warm.
- Roll once, efficiently, instead of multiple passes; each pass warms the butter.
- Use a glass or metal pie dish for better heat conduction and browning; ceramic runs cooler and may need a longer blind bake.
- Bake on a preheated sheet pan to give the base an instant blast of heat and enhance that audible crispness.
Bake-Day Confidence: Timing & Temperatures
- Blind bake at 400°F (205°C) until set; finish without weights until lightly golden.
- After filling, bake most quiches at 350–375°F (175–190°C) until the center jiggles slightly, about 30–40 minutes, depending on depth and filling. Rest 10–15 minutes before slicing—this lets the custard firm and preserves the crust’s delicate structure.
The Finishing Slice
Think of this crust as your quiche’s stage: buttery, crisp, and layered enough to let any filling shine. With careful cold handling, minimal water, and a disciplined blind bake, you’ll create a shell that flakes at the touch of a fork and stays tender through every bite.
Master these fundamentals once, and you’ll never settle for store-bought again—because the flakiest crust is the one you make with cold hands, calm steps, and hot heat.
Enjoy Watching This Video with a Similar Recipe

Source: The Scran Line Everyday
Did you find this post useful or inspiring? Save THIS PIN to your Cooking Board on Pinterest!

Other Recipes You’ll Love 😍