
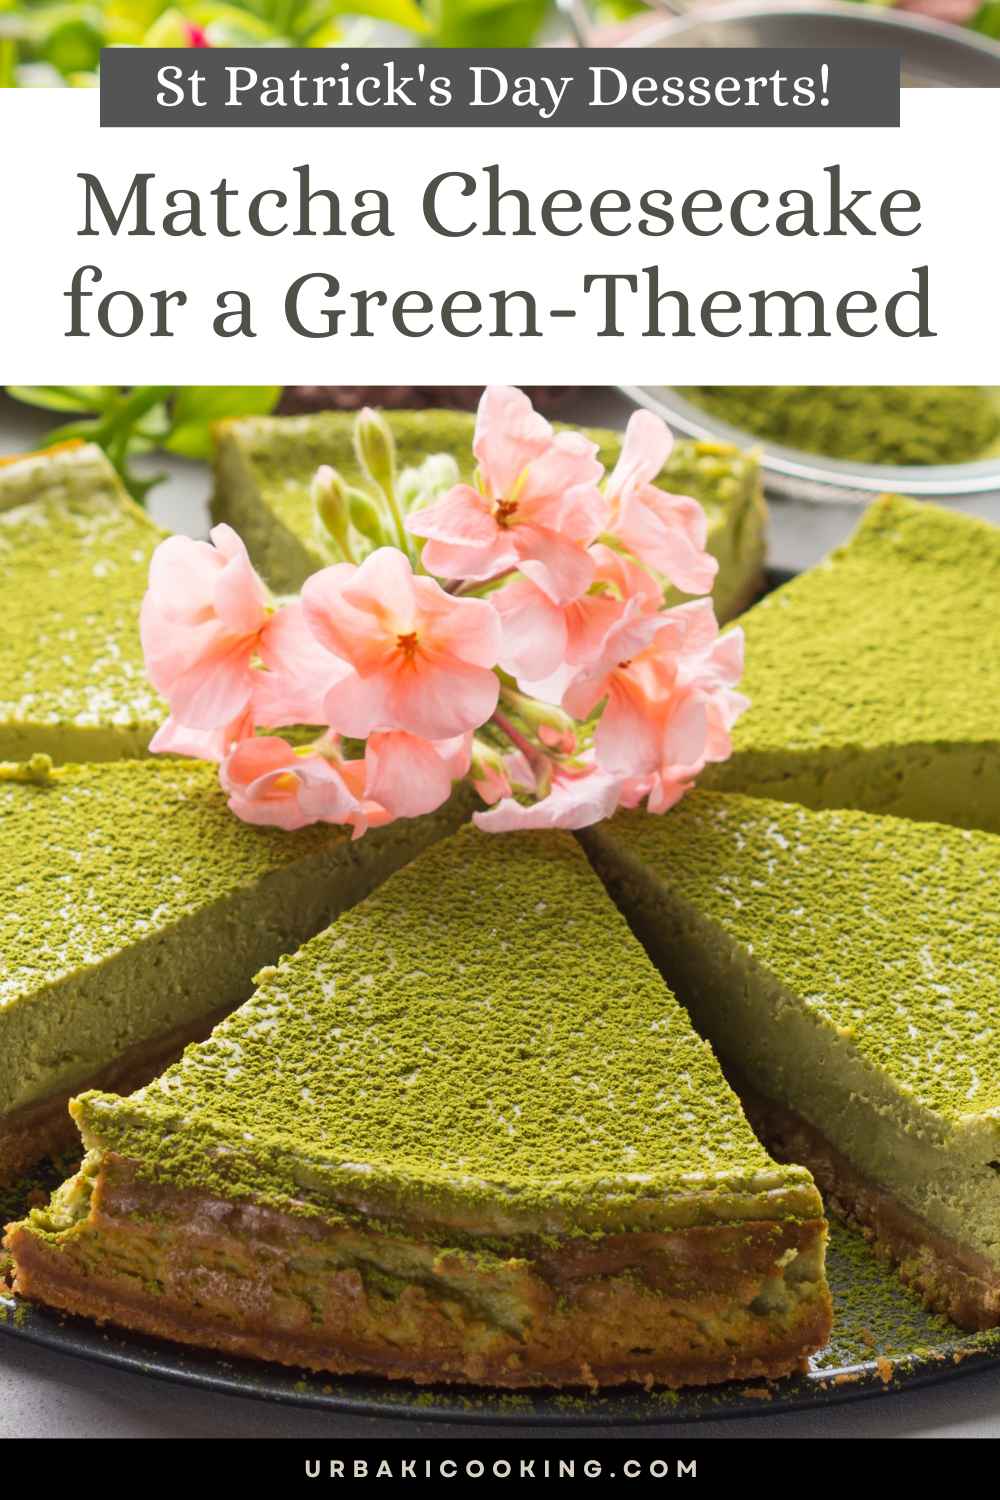
St Patrick's Day Desserts! Matcha Cheesecake for a Green-Themed

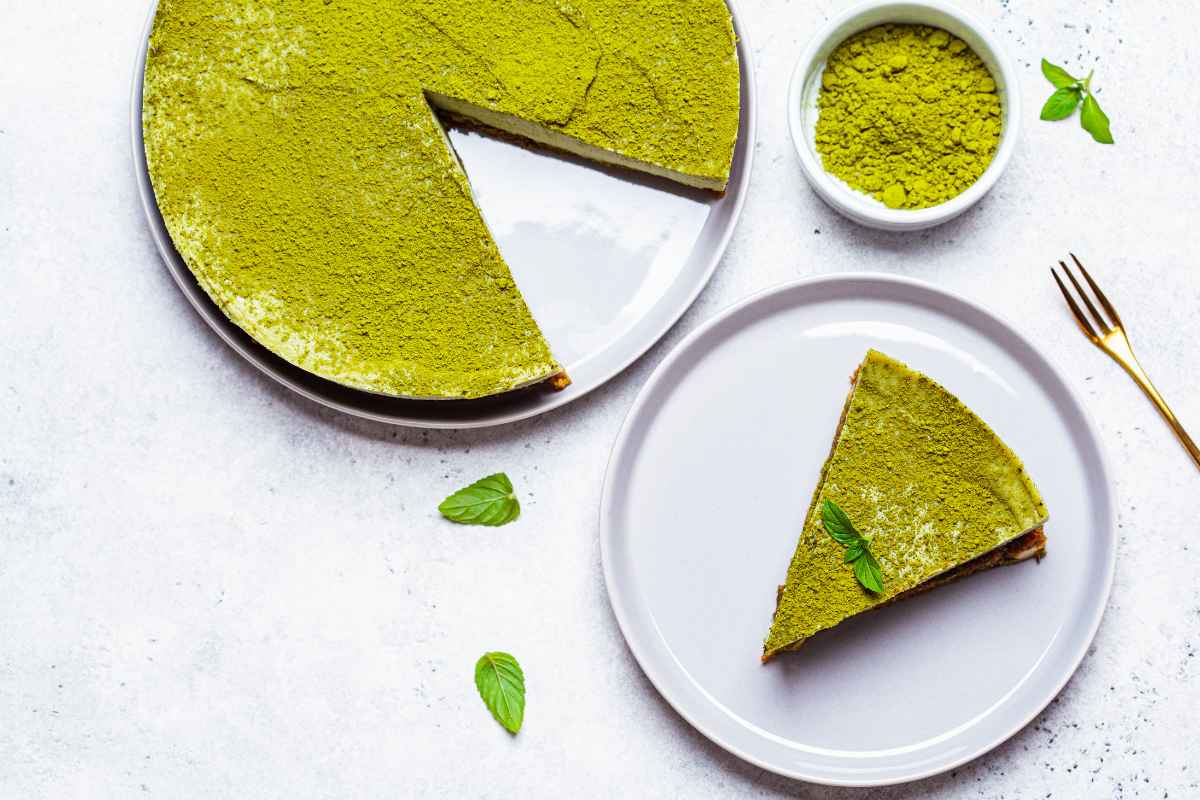
St. Patrick’s Day is the perfect time to indulge in festive, green-themed treats, and what could be better than a Matcha Cheesecake? This dessert combines the earthy flavor of matcha with the creamy decadence of cheesecake, creating a visually stunning and delicious centerpiece for your celebration.
In this article, we’ll guide you through making a Matcha Cheesecake that’s not only perfect for St. Patrick’s Day but also a delightful dessert year-round. From the ingredients to the step-by-step process, you’ll have all the tools to whip up this green-themed treat.
Why Matcha Cheesecake for St. Patrick’s Day?
1. A Perfect Green Hue
Matcha powder gives this cheesecake its signature green color, making it ideal for St. Patrick’s Day festivities.
2. Unique and Flavorful
Matcha adds a subtle, earthy flavor that balances the sweetness of the cheesecake, creating a sophisticated dessert everyone will love.
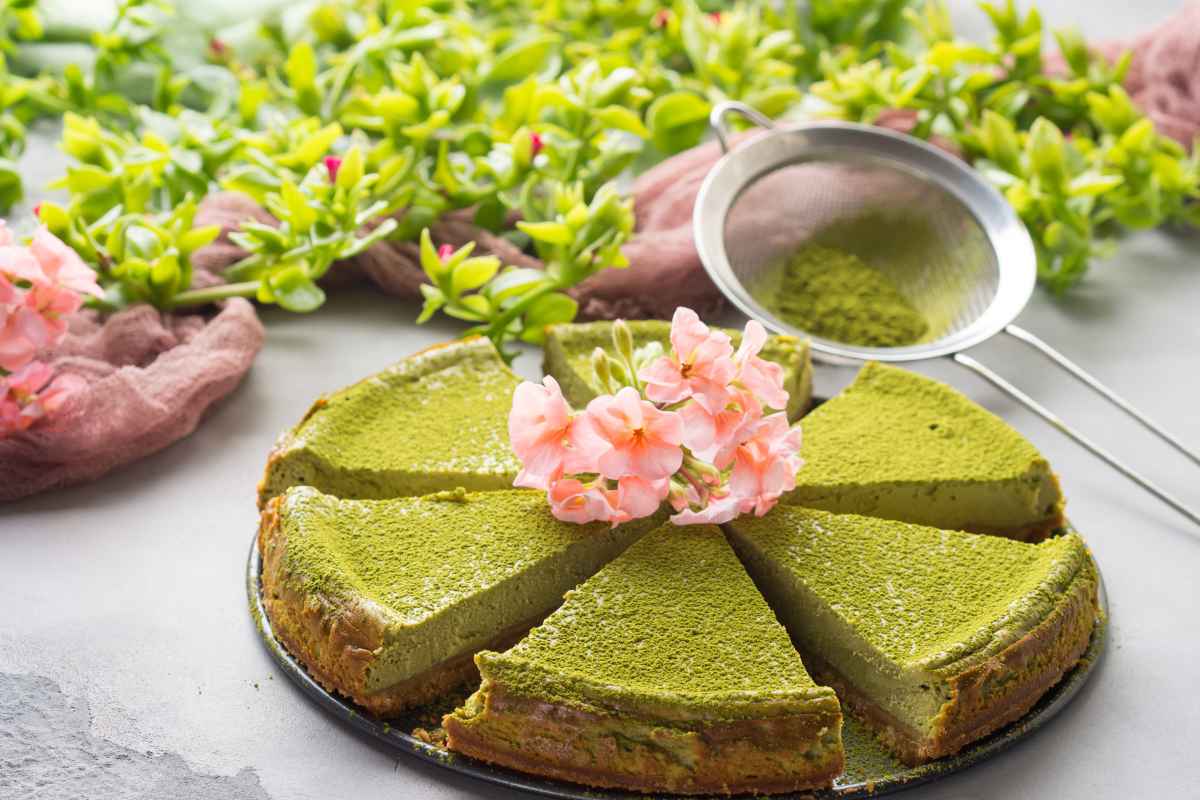
3. A Show-Stopping Dessert
The vibrant color and creamy texture make Matcha Cheesecake a dessert that stands out on any table.
Ingredients for Matcha Cheesecake
For the Crust:
- Graham Crackers (1 ½ cups): Crushed into fine crumbs.
- Unsalted Butter (6 tbsp): Melted.
- Granulated Sugar (2 tbsp): To sweeten the crust.
For the Filling:
- Cream Cheese (24 oz): Softened to room temperature.
- Granulated Sugar (1 cup): For sweetness.
- Eggs (3): Room temperature.
- Matcha Powder (2 tbsp): High-quality matcha for flavor and color.
- Heavy Cream (½ cup): Adds richness.
- Vanilla Extract (1 tsp): For added depth.
- Lemon Juice (1 tbsp): Balances the sweetness and enhances the flavor.
Optional Toppings:
- Whipped cream.
- Fresh berries.
- A dusting of matcha powder.
Equipment You’ll Need
- 9-inch springform pan.
- Mixing bowls.
- Hand mixer or stand mixer.
- Spatula.
- Measuring cups and spoons.
- Parchment paper.
Step-by-Step Guide to Making Matcha Cheesecake
Step 1: Prepare the Crust
- Crush the Graham Crackers: Use a food processor or a rolling pin to crush the graham crackers into fine crumbs.
- Mix the Ingredients: Combine the crumbs, melted butter, and sugar in a bowl. Stir until the mixture resembles wet sand.
- Press into the Pan: Line the bottom of the springform pan with parchment paper, then press the crust mixture evenly into the bottom.
- Bake: Preheat your oven to 325°F (160°C) and bake the crust for 10 minutes. Let it cool while you prepare the filling.
Step 2: Make the Matcha Cheesecake Filling
- Beat the Cream Cheese: In a large bowl, beat the cream cheese with a hand mixer or stand mixer until smooth and creamy.
- Add Sugar and Vanilla: Gradually add the sugar and vanilla extract, mixing until fully incorporated.
- Mix in the Eggs: Add the eggs one at a time, beating well after each addition.
- Incorporate the Matcha Powder: Sift the matcha powder into the mixture to avoid clumps. Mix until the color is even and vibrant.
- Add Heavy Cream and Lemon Juice: Gently fold in the heavy cream and lemon juice until the mixture is smooth and creamy.
Step 3: Assemble and Bake
- Pour the Filling: Pour the matcha cheesecake filling over the cooled crust, spreading it evenly.
- Prepare a Water Bath: Wrap the outside of the springform pan with aluminum foil to prevent leaks. Place the pan in a larger baking dish and fill the dish with hot water, about halfway up the sides of the springform pan.
- Bake: Bake at 325°F (160°C) for 60-70 minutes. The cheesecake should be set around the edges but slightly jiggly in the center.
- Cool Gradually: Turn off the oven and leave the cheesecake inside with the door slightly open for 1 hour. Then, let it cool to room temperature before refrigerating for at least 4 hours or overnight.
Step 4: Decorate and Serve
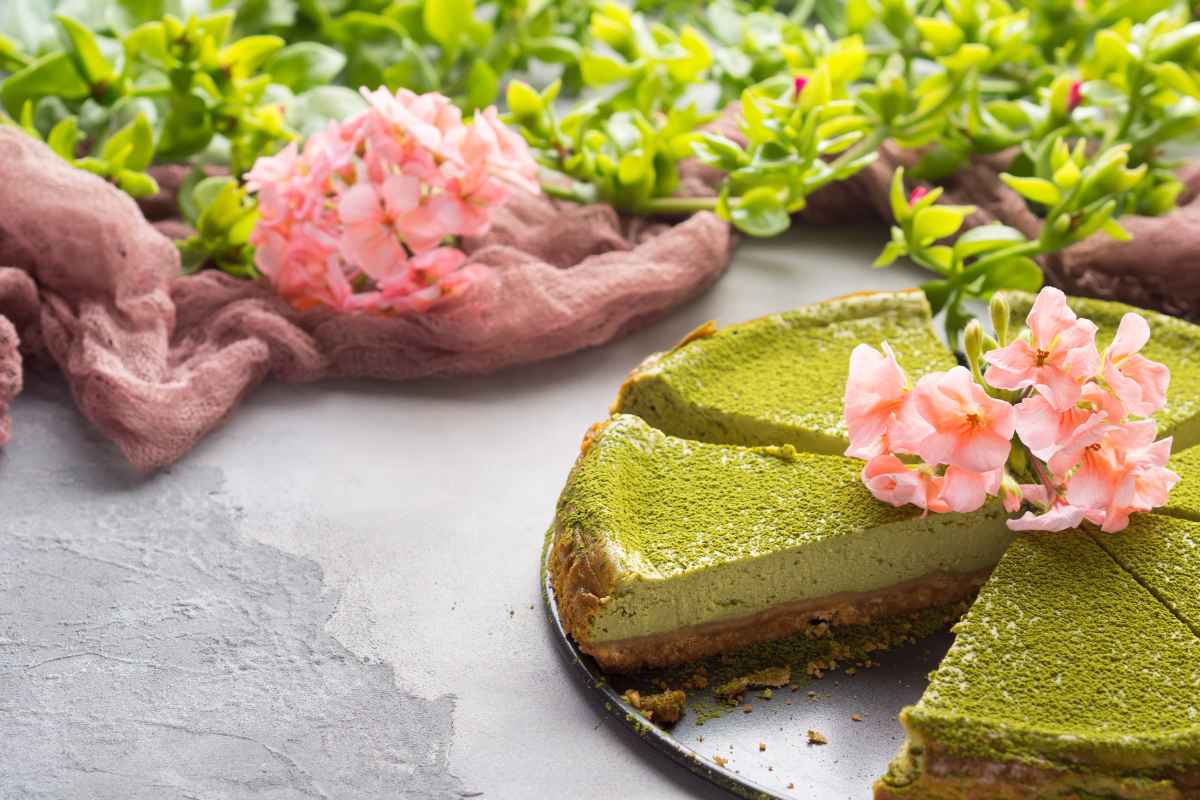
Topping Ideas:
- Pipe whipped cream along the edges for an elegant touch.
- Add fresh berries like strawberries or raspberries for a pop of color.
- Lightly dust the top with matcha powder for extra flair.
Serving Tips:
- Use a warm knife to slice cleanly through the cheesecake.
- Serve chilled for the best flavor and texture.
Tips for a Perfect Matcha Cheesecake
1. Use High-Quality Matcha
The quality of your matcha powder greatly affects the flavor and color. Opt for culinary-grade or ceremonial-grade matcha for the best results.
2. Avoid Overmixing
Overmixing the batter can incorporate too much air, leading to cracks on the surface. Mix just until the ingredients are combined.
3. Use a Water Bath
The water bath helps the cheesecake bake evenly and prevents cracking. Don’t skip this step for a smooth and creamy result.
4. Chill Thoroughly
Allow the cheesecake to chill in the refrigerator for several hours to set properly and develop its flavors.
Why Matcha Cheesecake is Perfect for St. Patrick’s Day
1. Festive Green Color
The vibrant green hue of matcha makes this dessert a natural fit for St. Patrick’s Day celebrations.
2. A Unique Twist
While traditional desserts like cupcakes or cookies are always fun, Matcha Cheesecake adds an unexpected and sophisticated element to your dessert table.
3. Crowd-Pleaser
This creamy, flavorful cheesecake appeals to both matcha enthusiasts and those new to its unique taste.
Variations to Try
1. Vegan Matcha Cheesecake
Replace cream cheese with cashew cream and use coconut milk instead of heavy cream for a vegan-friendly version.
2. Matcha Swirl Cheesecake
Reserve some plain batter and swirl it into the matcha mixture for a marbled effect.
3. Mini Matcha Cheesecakes
Use a muffin tin to create individual servings. These are great for parties or portion control.
Matcha Cheesecake is a dessert that’s as stunning as it is delicious. With its creamy texture, vibrant green color, and earthy flavor, it’s the perfect centerpiece for your St. Patrick’s Day celebration. Whether you’re hosting a party or enjoying a cozy dinner at home, this dessert is sure to impress.
So gather your ingredients, follow these simple steps, and create a dessert that brings a touch of sophistication and a lot of fun to your holiday table. Cheers to a delicious and green-themed celebration!
Enjoy Watching This Video with a Similar Recipe
")
Source: Food Network
Did you find this post useful or inspiring? Save THIS PIN to your Cooking Board on Pinterest!
Other Recipes You’ll Love 😍